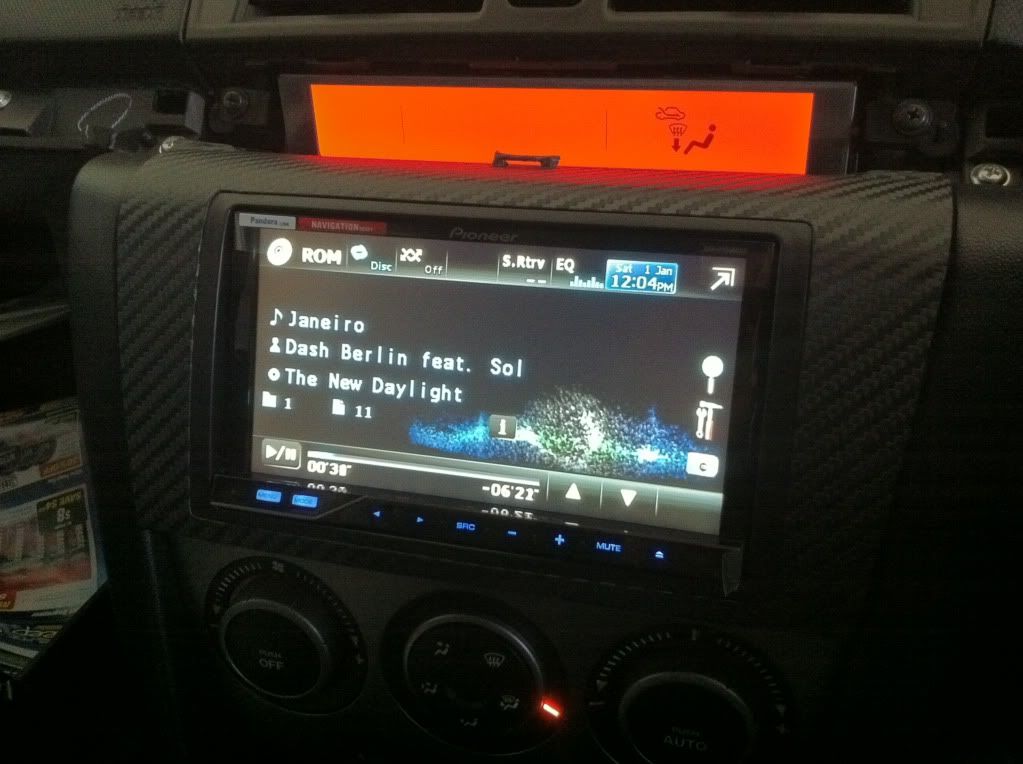
This is a guide for MPS3 with Bose. It should be very similar for the non-bose cars, but I cannot guarantee it. This guide is if you are changing the headunit only and keeping the rest of the system stock.
This is intended as a guide only and maybe different for your car, please double check everything before continuing. Having said that, it�s highly unlikely it will be any different. I TAKE NO RESPONSIBILITY
As I have a pioneer headunit some parts are specific to this headunit. You can check the part brand's website to see if they have a similar part for your brand of headunit
Some information has been obtained from external sources, and where due, are owned by their respective owners
Read through all of this guide to get an idea what to do and also plan your install
Difficulty: intermediate (basic electrical knowledge required)
Time required: 1-2 weekends (2 if you are removing a lot of the dash)
Parts needed in addition to headunit:
- Steering wheel interface, part # SWI-PS (pac-audio.com). Approx $70 from ebay
- Metra Harness part # 70-7903 (Metra Electronics). Approx $30 from ebay (only if you don't want to hack factory harness)
- Dash surround kit. (japanparts.com) This is a genuine mazda part from Japan hence the price. Approx $250-$300 (you can get cheaper dash kits from ebay)
- RCA audio cable - a twisted pair will make it easier as the -ve/+ve is already separated, but this isn't essential. doesn't need to be long, shorter the better (only required if you have Bose system)
- Electrical wire
- Electrical tape
- bullet terminals (female & male) 2 boxes - I got this from Jaycar which also had heat shrink ends. Otherwise go to Bunnings as the normal bullet terminals from Jaycar SUCK
- Wire taps + corresponding size female blade terminal (from Bunnings)
- solder
Tools:
- heatgun if you get the bullet terminals with heat shrink (or any heat source like a candle)
- philips (+) head screwdriver
- pliers
- soldering iron
- crimping tool if you have one - otherwise you will need a utility knife to shave off the cable sheath
- voltmeter (optional)
Misc:
- Blanket or something soft for all the dash pieces you will remove
- beer
Planning:
To minimise the time your car is off the road, its best to think about exactly what you need to do. Best to get as much info specific to your headunit, particularly the wires which need to be installed.
Also if you need additional parts like the steering wheel interface or dash surrounds, buy all required additional parts in advance.
Read all installation instructions for the parts you are going to install
Read through the whole of this guide so you get an idea as to what is involved and how you can tailor it to your install.
Taking apart the dash:
You don't have to take apart all of the dash as it depends on what you need to install. For me as I have a navigation headunit with bluetooth and Ipod, I pretty much needed to take apart the whole dash to route the cables. Just follow the instructions of the areas you need access to.
Remove headunit
Follow these instructions: http://www.ozmpsclub.com/forum/how-t... instructions]
Remove centre console
Follow instructions until p3 in below attachment for installing shifter bushes
Shifter_Bushing_Install_3.pdf
Remove glovebox
When the headunit was removed, you would've taken the long plastic dash strip off. Afterwards:
- Remove 2 screws holding the glove box at the top.
- Remove passenger scuff plate
- Remove passenger kick panel (there is a plastic press lock tab)
- Pull glovebox towards you. The glove box is held in by clips.
Remove aircon controls (requires removal of glovebox and centre console)
This bit is annoying as its very difficult to remove the panel even after the screws are removed. You need to take the face panel off to remove it, but its very difficult with the controls still in the dash.
- Remove the screw on the bottom right where the glove box was as shown in this picture.
- Pull the plastic trim off the support next to where the screw was
- You can now move the dash where the aircon controls is still hooked in, which will allow you to wriggle the controls out
- Unclip wiring
Remove centre dash (centre aircon vents)
When the headunit was removed, you would've taken the long plastic dash strip off. Afterwards:
- Unscrew 2 screws holding the cover down
- the part is held in by clips - carefully remove
- unclip wiring
Remove drivers lower dash
- Unclip bonnet latch
- Unscrew 2 screws
- Remove drivers scuff plate
- Remove drivers kick panel (there is a plastic lock tab)
- Part is held in by clips
Remove cluster and steering wheel surrounds (requires removal of drivers lower dash)
- Unscrew 3 screws located underneath of steering wheel surround
- Remove surround (will take some wriggling with the steering wheel lock)
- Top half of steering wheel surround is joined to the cluster surround. This part is all held in with clips
- Cluster is held in by 3 screws (1 top, 2 bottom)
Installation
Disconnect the battery!
Getting line level output to connect to factory harness
Before you start installing, if you have Bose, you will need to fab up RCA cables to connect to the wiring harness. This is so you don't double amp the sound, which is what will happen if you use speaker level outputs from the headunit.
- Get some audio RCA cables and cut it in half. You only need the terminals and probably 30cm of cable. However plan your cable management and cut accordingly.
- Strip the shielding off so that you expose the wires. Inner wire is +ve and outter -ve
- Twist the wire then crimp the male bullet terminal onto each of the -ve and +ve as shown in below pic
- Do this 4 times as you need 2 sets, for front and rear speakers, left and right
TIP: the second picture shows some new cables I made using twisted pair RCAs. This makes the installation a lot cleaner and easier.

Headunit wiring
How you wire the headunit harness to the factory harness is up to you. However if you plan to change the headunit later down the track back to stock, it would be best to get the Metra harness. I have chosen to get the Metra harness, which is what the below instructions will be for.
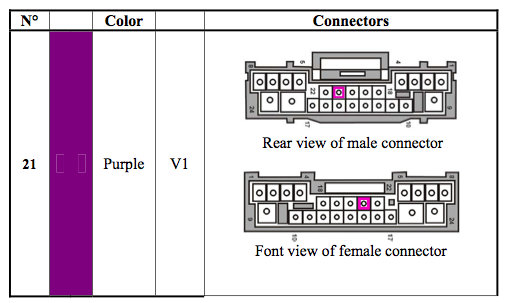
Check that the wire colours and their locations are the same on the factory harness as the wiring diagram attachment. If not, then you will need to use a voltmeter to see what your wires are.
wiring_diagram.txt
- Wire up the headunit harness to the Metra harness using the below attached wiring diagram EXCEPT the Illumination and speaker wires. You can either hardwire directy to the Metra harness, or like I did, use bullet terminals
Note: The Metra harness had the remote wire (Blue) in the incorrect pin. Not sure if they are all like this, but if it doesn't match up with the Factory harness, move the pin.- Wire the Illumination wire of the Metra harness to the ashtray light. Even though the factory harness provides illumination, it does not provide a good signal and caused my headunit not to dim unless I dimmed the dash less than maximum brightness
- Connect the RCA to your headunit and then connect to the corresponding speaker location (eg. FL or FR) to the correct -ve and +ve wires on the Metra harness
If you just have a standard headunit without any extras, you're done with the wiring.
Navigation specific wiring
If you have a navigation headunit, you will need some additional wiring done. I didn't do the parking brake or reverse as I didn't need/want to. However, I wasn't able to find a Vehicle speed sensor signal. If anyone knows where to find it, would be great. I have attached what info I did find, but it did not work.
- Parking brake wire is easily found at the parking brake
- Reverse signal can be tapped from the rear
- Vehicle speed sensor?
Cable routing and management
It's extremely tight behind the headunit and there's little room directly behind the headunit. I cut away the plastic part directly behind the headunit to give extra room as shown in below pic. You will most likely will need to manage the routing of the wiring and also misc cables. Theres a decent amount of room below the headunit, behind the aircon controls. Hence its easier if you remove the aircon controls.
The following is what I have done in regards to routing the cables. Looks messy, but you're not going to see it anyway.
- I put my Ipod connection cable in the glovebox. Theres a part which pops out at the back of the glove box. Cut a hole and stick a grommet to make it look neat.
- The GPS antenna was placed under the centre aircon vent. The signal I get is not effected in anyway.
- Bluetooth mic was fed through between the cluster trim
Steering wheel controls
Follow the instructions that PAC provide. They are good enough :P. You do have to ground the wires that they say to ground. I just used a wire joiner to tap into the Metra harness ground
The response of the controls is like factory. Some people mentioned lag or needing to press the buttons harder. Same as before for me.

 Reply With Quote


 that was in my neo tho...