Good to see mate!
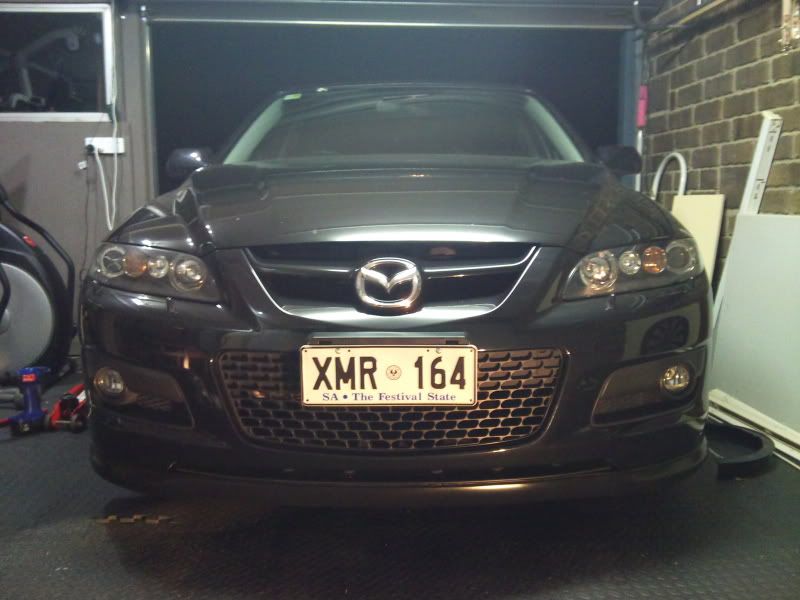
You have the same Lip as Toddy. Off memory I think he used about 4 screws on each side and in the middle 5 bolts top side facing down with a nylock nut under. Once lowered you will have about 80mm clearance, that is correct. Toddy has scraped his a couple of times but you just have to be mindful where you take your car and what angle to approach. The great thing is the rigidity of the rubber. It's pretty tuff and definitely won't rip.
The frost king rubber I installed on mine is still going well. I think I scrapped once when I had to reverse straight out one day and to be honest it was a little fast. Got out and looked and no damage at all. Then again I have got a sufficient number of self drilling screws and also gaffa tape at intervals. I actually ordered the nail on "hard" rubber but received the soft rubber. I complained and again they sent me more soft rubber lol. The hard rubber would be much better than the soft stuff but for the most part mine is still going great and now I have spare anyway.
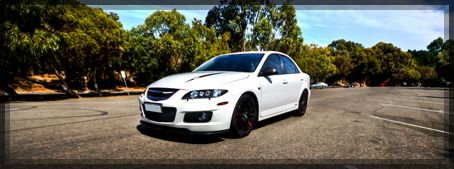
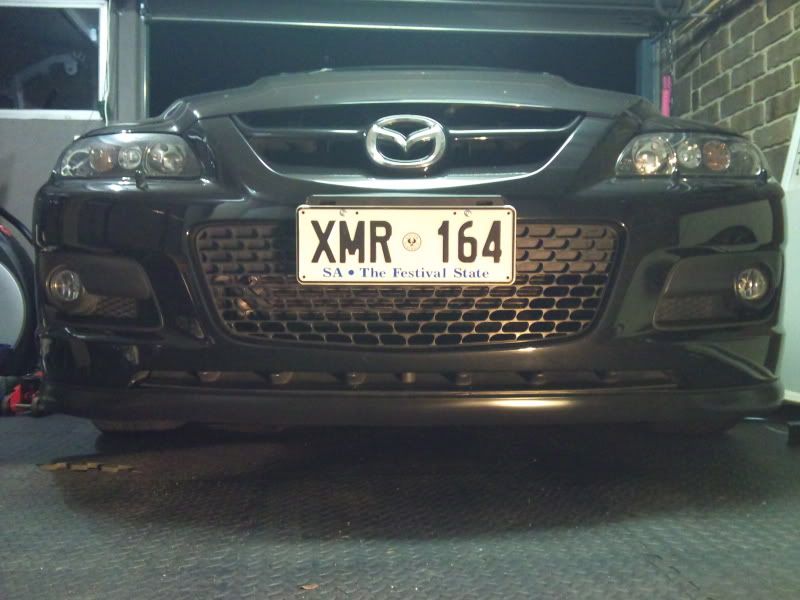
Thanks for the pics, she's looking good!!

Just a quick question,
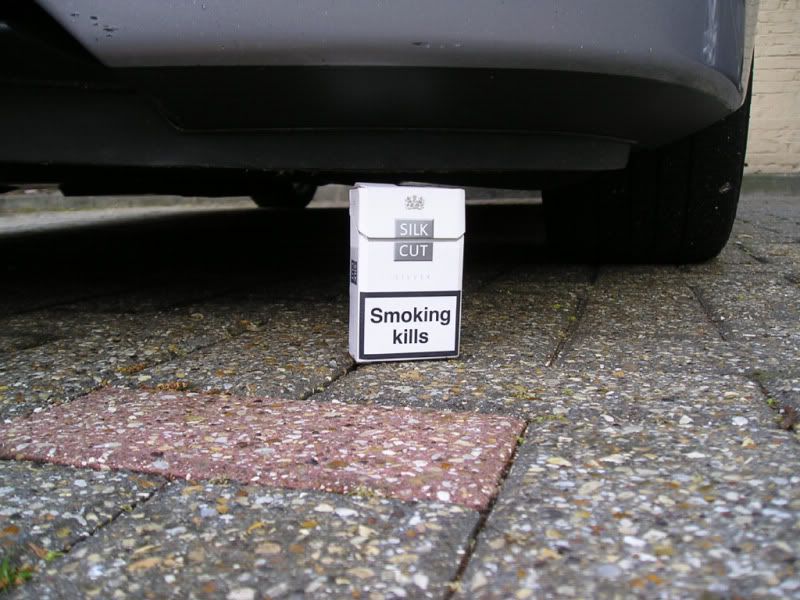
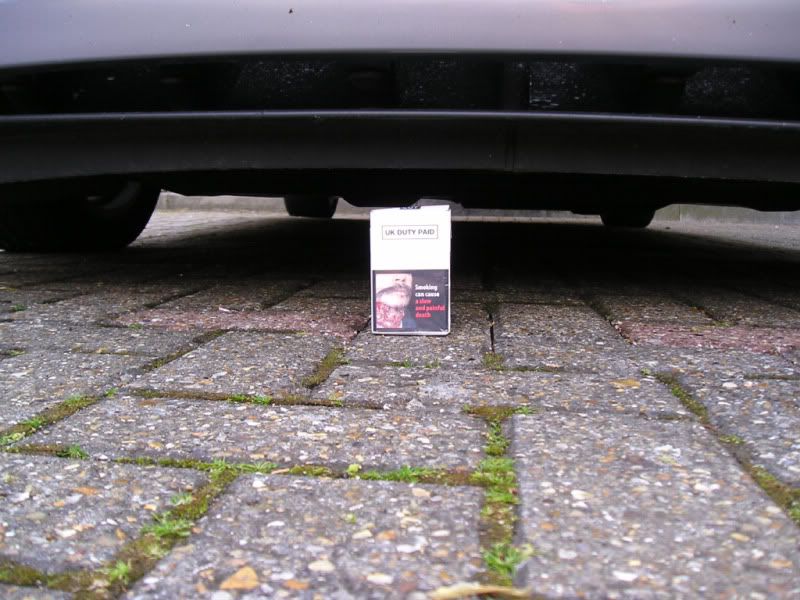
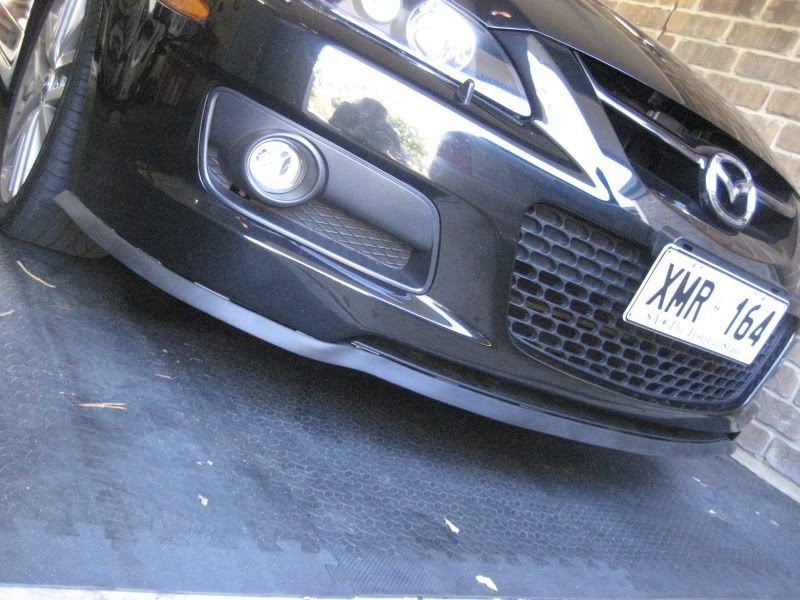
how did you mount the middle rubber to the underside of the bumper? I don't see any screws? Nice and neat. Hopefully you don't get any drama's once lowered! Just remember to approach at an angle when possible and go slow. If you see my attachment above with the stubby holder, yours would sit about 25mm below my lip (pretty much touching the stubby holder) after you put new springs in (just for information really)


 Reply With Quote