User Tag List

Results 1 to 2 of 2

Thread: Audio Install Diary - MPS6 BOSE

  1. #1
    Join Date
    Aug 2009
    Location
    Dora Creek, NSW
    Age
    34
    Posts
    96

    Default Audio Install Diary - MPS6 BOSE

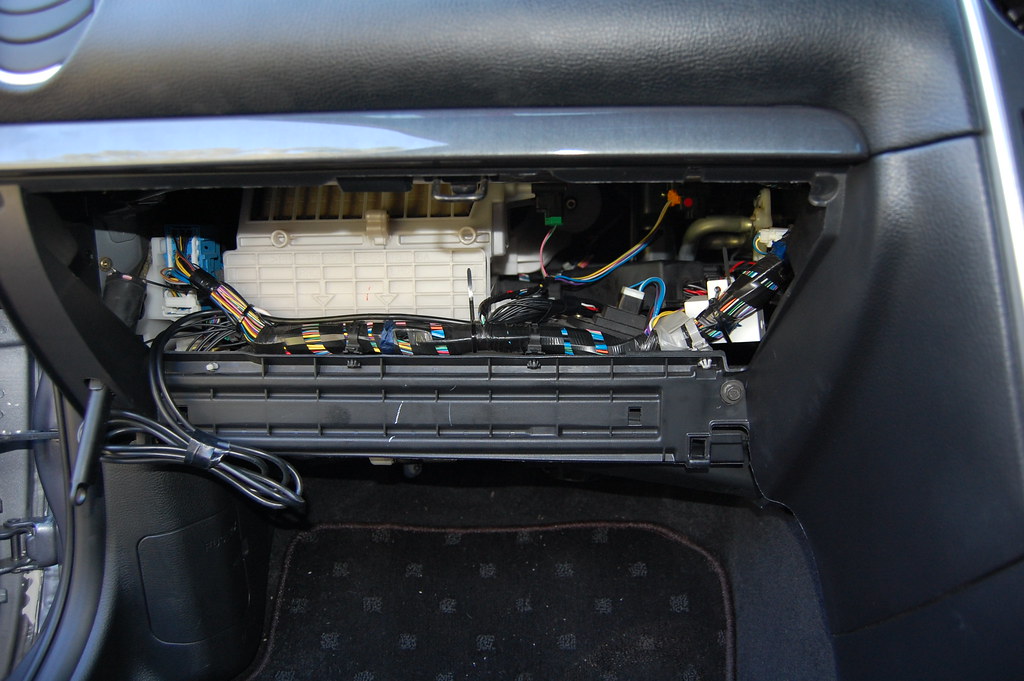
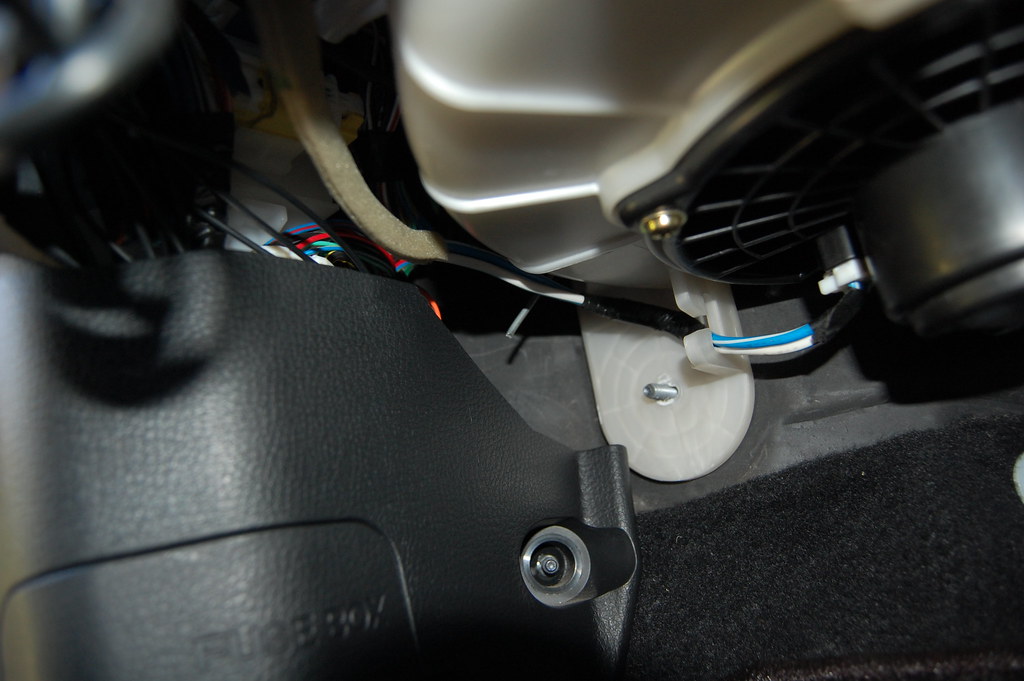
    Thought my audio install might help others in planning or installing their own gear for the MPS6 with BOSE. I am going to mount 2 amps in the boot, change the BOSE subwoofer to a 12" (in the same location), and install 6" components in the front doors. I will retain the head unit.

    I haven't purchased all the gear yet but I have started on the wiring. I'll keep updating this thread as I go.

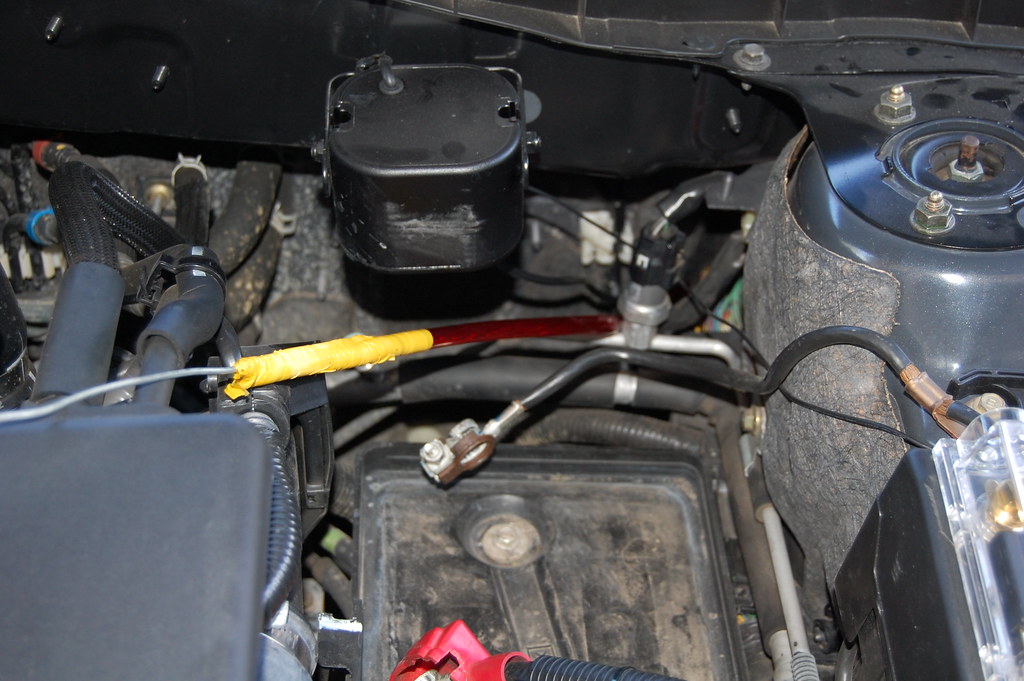
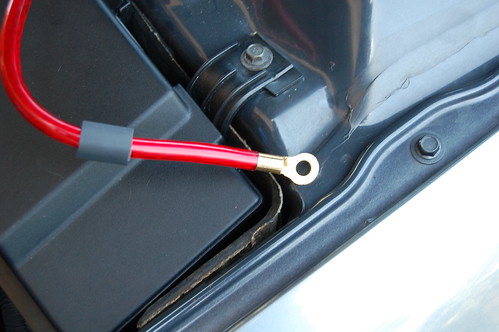
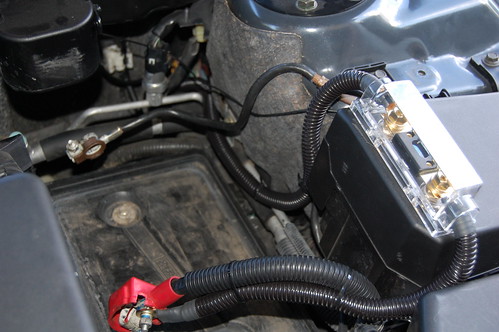
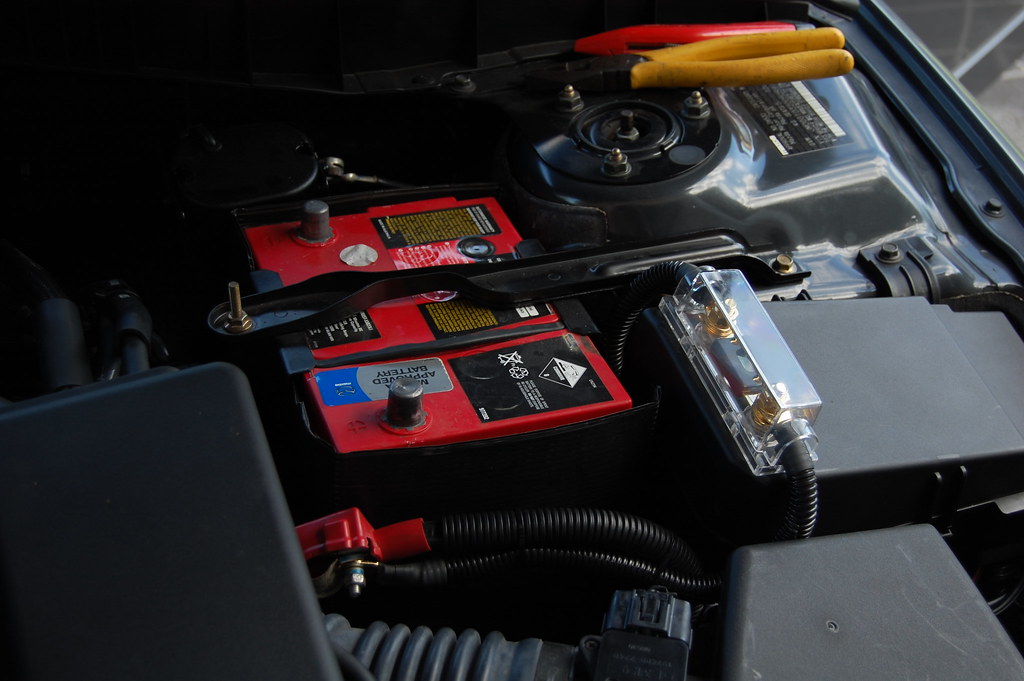
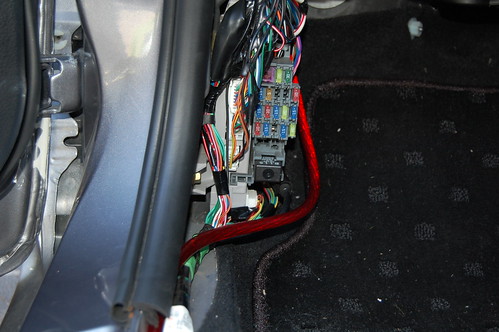
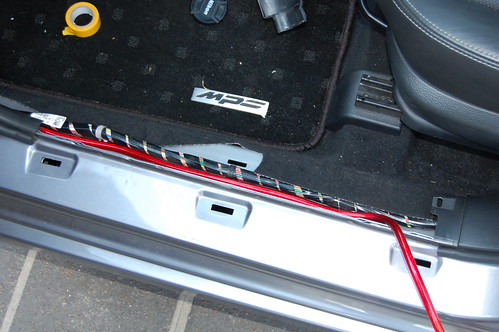
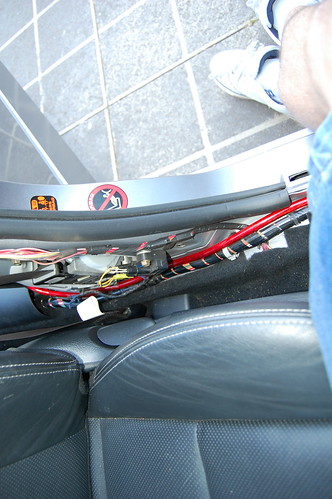
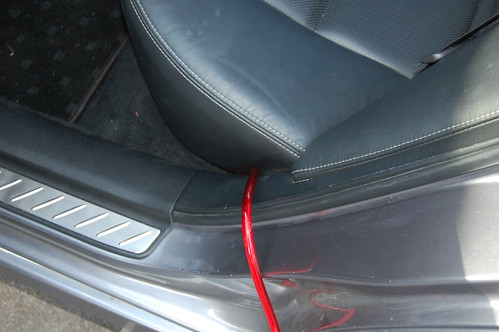
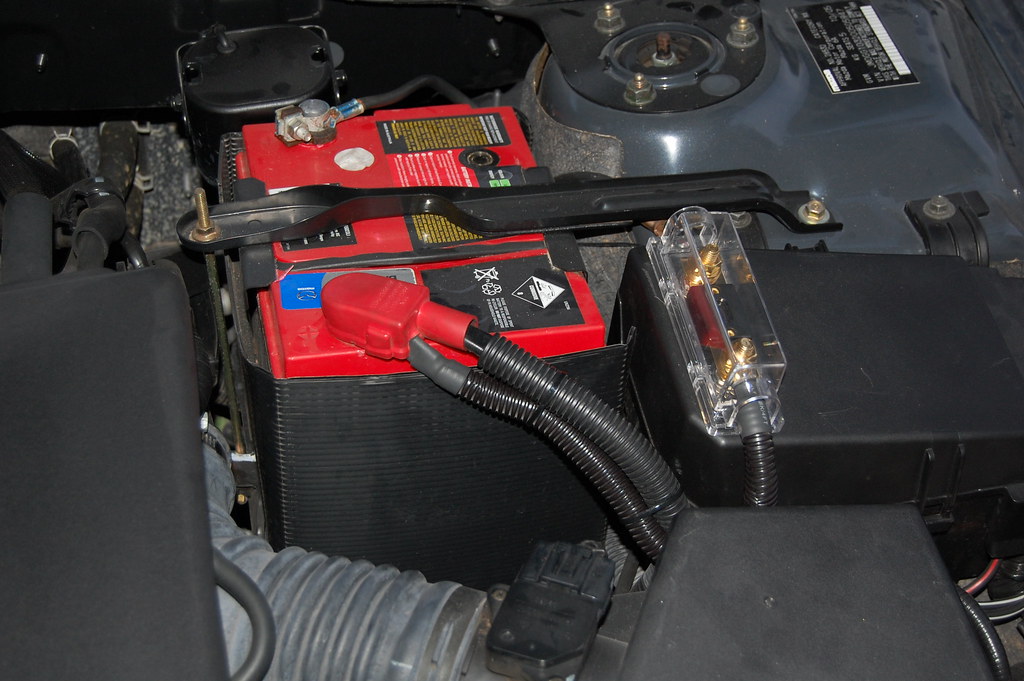
    Part 1 - Fuse and connection to battery.


    A lot of the parts you need will come in a 4G wiring kit (with exception to the heat shrink).

    End Result: (I was going to take photos of each step but totally forgot sorry!)


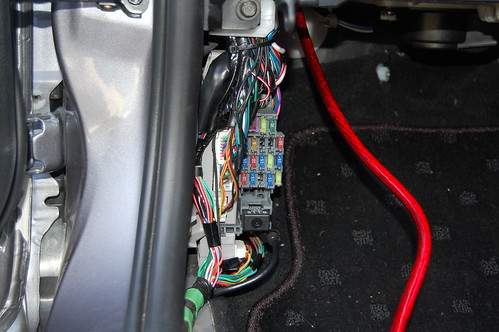
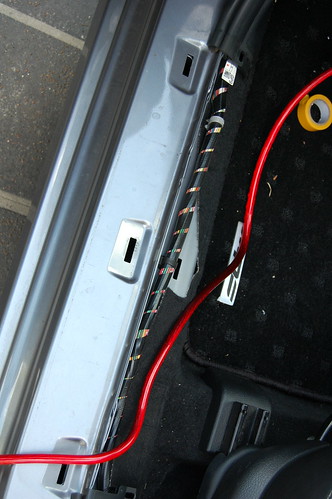
    Tomorrow I will be putting the power cable through the grommet in the firewall.
    Last edited by tomo89aus; 24-09-2009 at 09:52 PM.

  2. #2
    Join Date
    Aug 2009
    Location
    Dora Creek, NSW
    Age
    34
    Posts
    96

    Default

    Part 2 - Cable through the Firewall Grommet

    I remembered to take photos of most of the steps this time.

    To get to the firewall grommet on the engine bay side you need to remove the battery completely. On the inside of the car, you can't actually get to the grommet even by removing the glovebox:


    The grommet is on the bottom left hand side of the AC blower (big white thing). All I did was loosen the nuts on the bottom bolts so it could be moved outwards slightly.

    To get a path through the grommet, the best approach is to get a coat hangar and cut it. Straighten it out...and you have yourself something sharp enough to pierce the grommet and stiff enough to get through without bending too much.

    Starting on the engine bay side, you should stick the coat hangar through on the bottom of the grommet just below bundle of wires (you'll feel/see it recesses in there). It takes some pushing and wriggling around...just make sure you don't push on an upward angle otherwise you may damage the other wires. Eventually you'll get through and the end of the coat hangar will be pushing against the AC blower unit. Hopefully you should be able to feel around for it and bend it downwards and towards the left side so it clears the AC box. Eventually you'll have two ends looking like this:


    Its up to you which direction you pull the cable through, I found it easiest to tape the cable on the inside end because I had a better grip on the engine bay end. Make sure its taped up well because you'll be stretching the hole you made earlier with the coat hangar.

    Once you get it through:


    Crimped ring terminal and heat shrink:


    A bit of tubing and zip ties to tidy it up. Then attached to the fuse:


    End Result:


    ---------- Post added at 10:21 PM ---------- Previous post was at 10:12 PM ----------

    Part 3 - Cable route to the back

    Fuse box trim removed and scuff plate:


    Plenty of room for the cable next to the existing wiring:


    End Result:

Posting Permissions

  • You may not post new threads
  • You may not post replies
  • You may not post attachments
  • You may not edit your posts
  •