


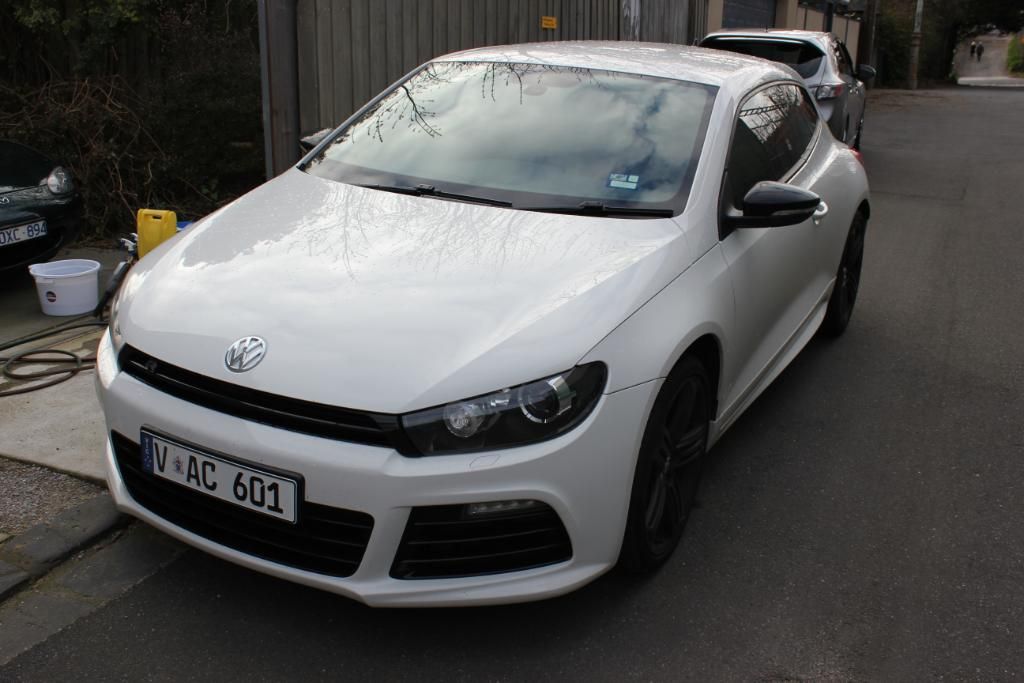
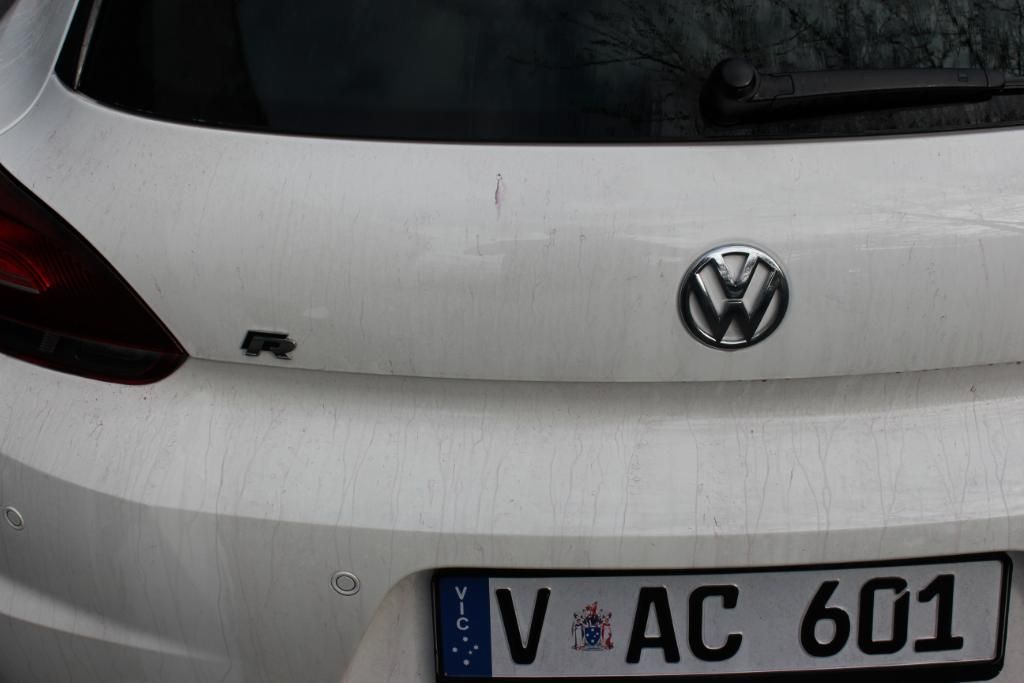
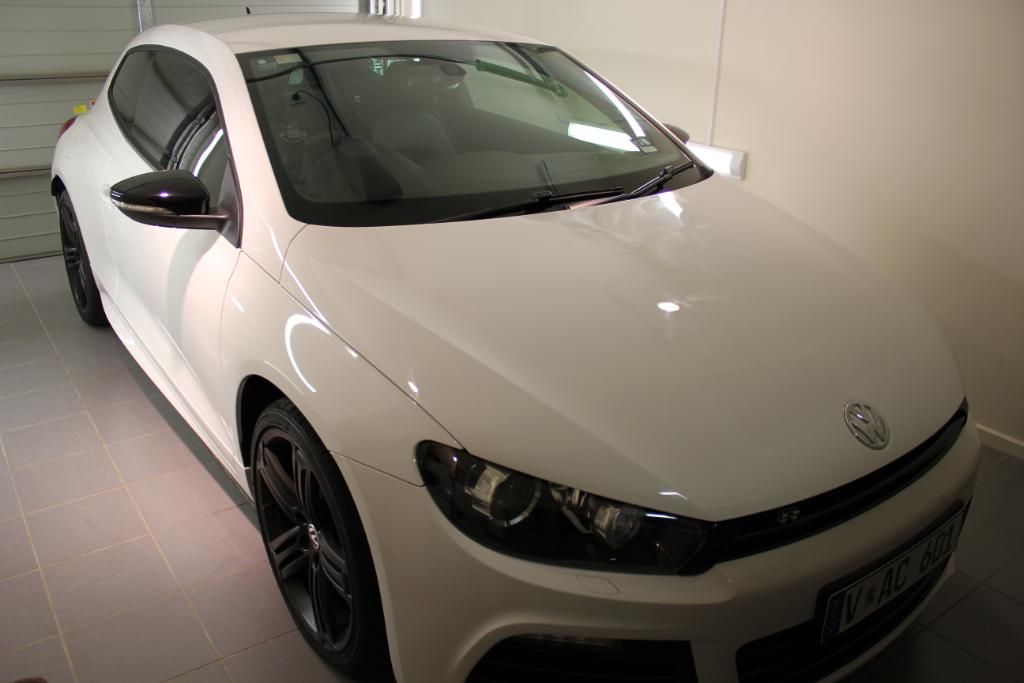
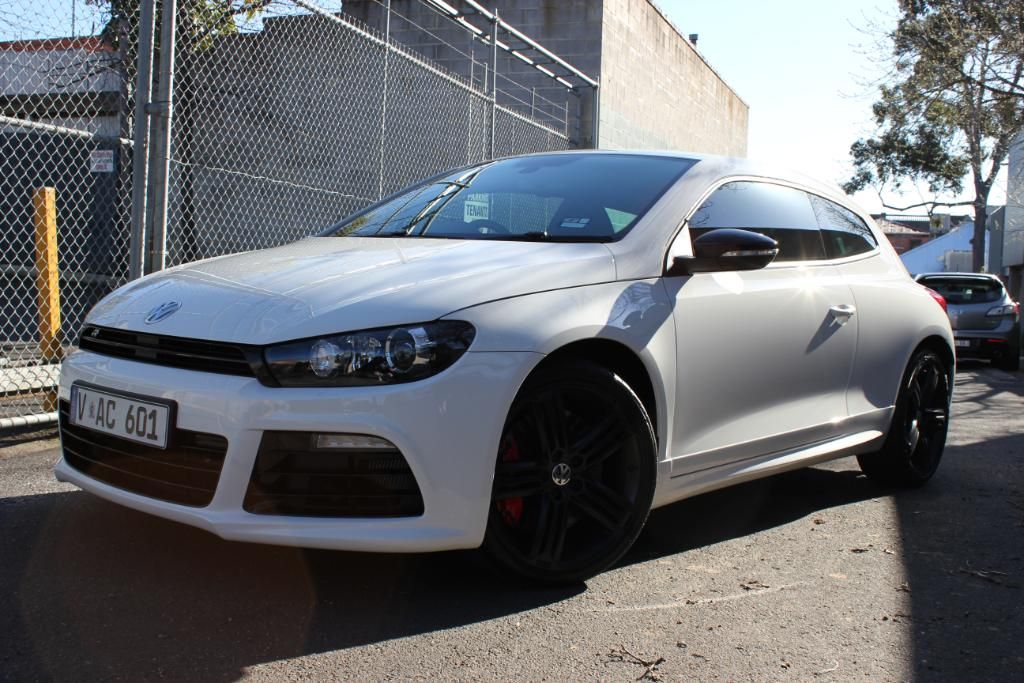
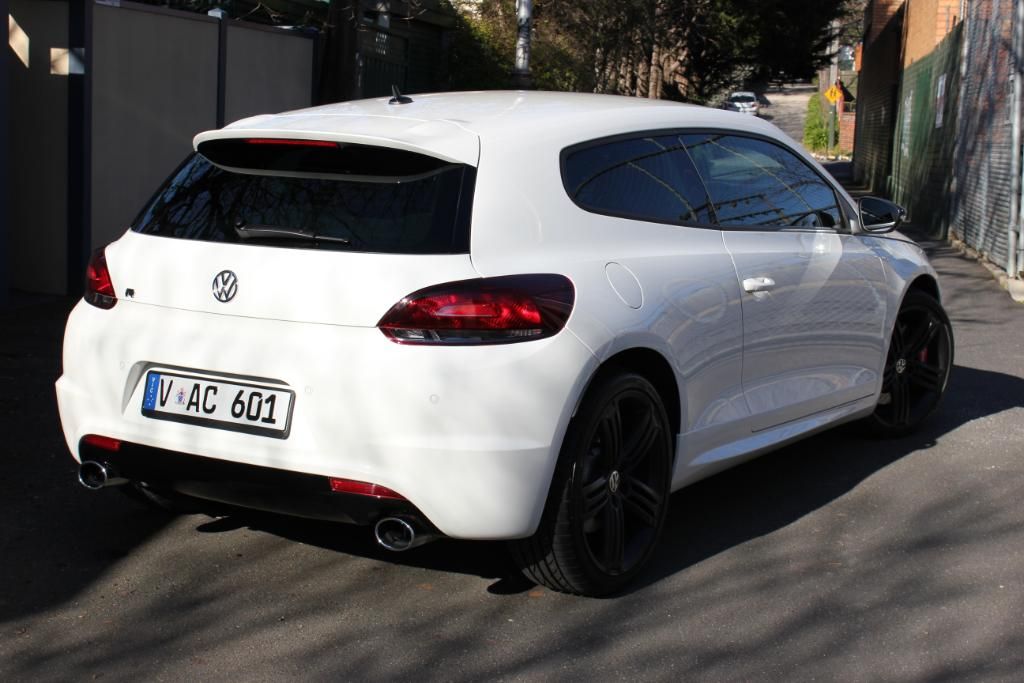
This weekend I had the pleasure of working on a white VW Scirocco R. This one belongs to the mate of the Grey one I did a three weeks ago. This one also had the APR treatment. I was lucky enough to be given a quick blat in it when the owner came to pick it up and it moves quick especially with the DSG doing the shifting. Really impressive piece of kit this car is and a joy to work on.
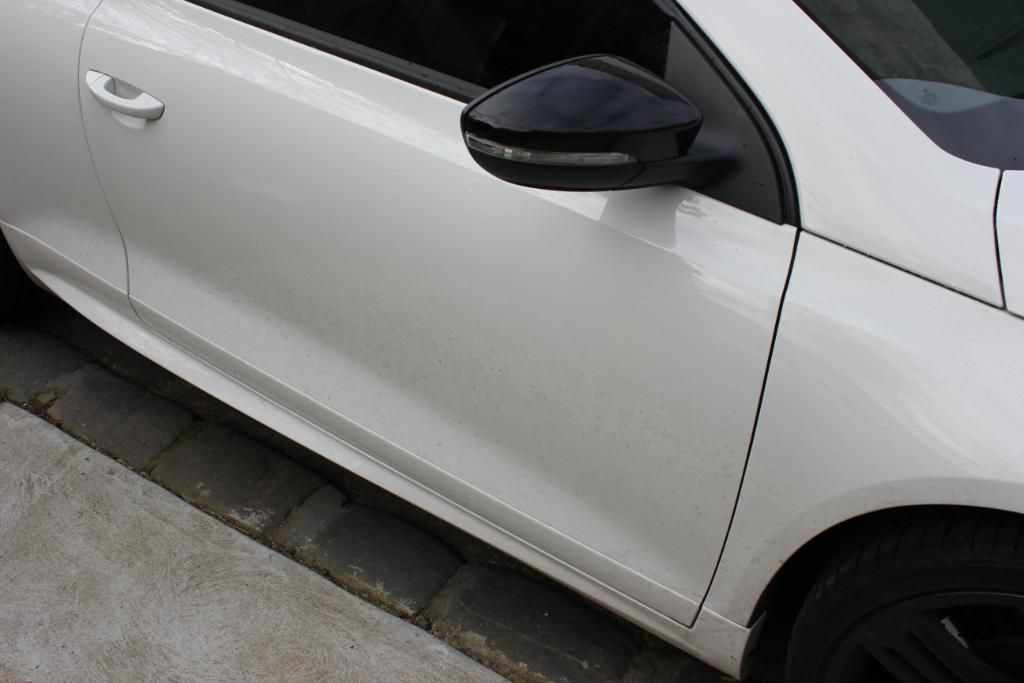
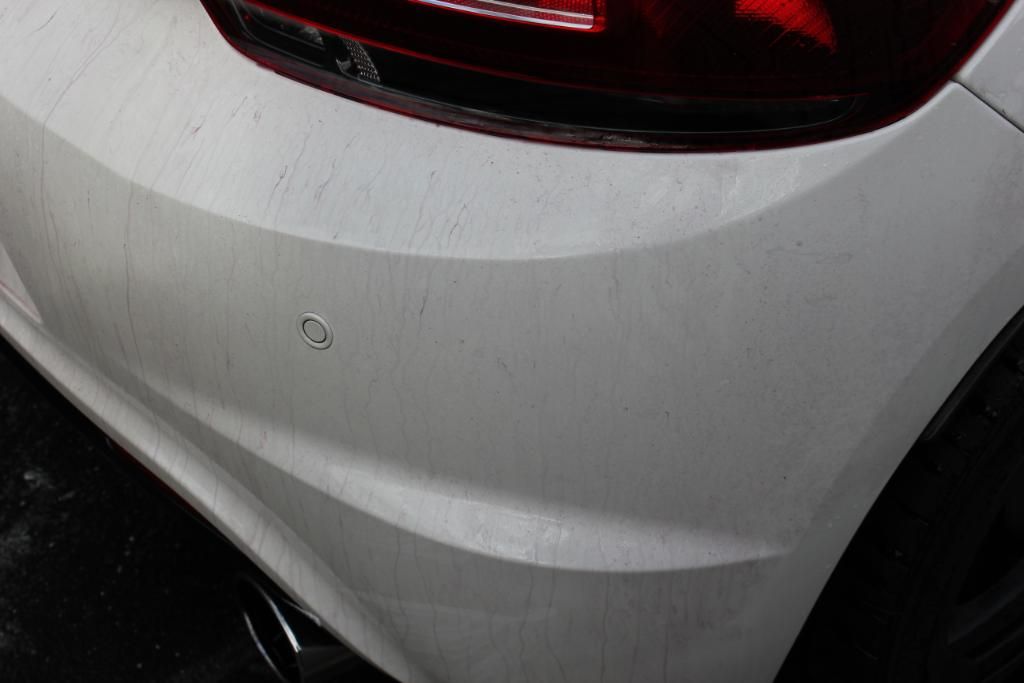
Pre-wash. Not too bad. The owner hadn't had a chance to wash it since a road trip that was taken not long ago
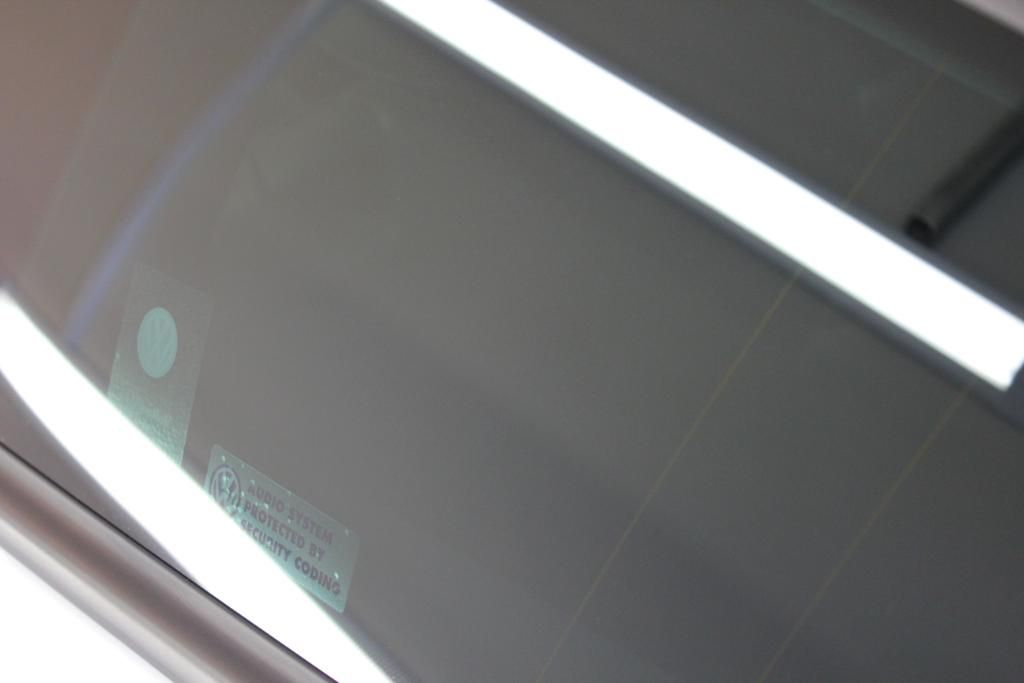
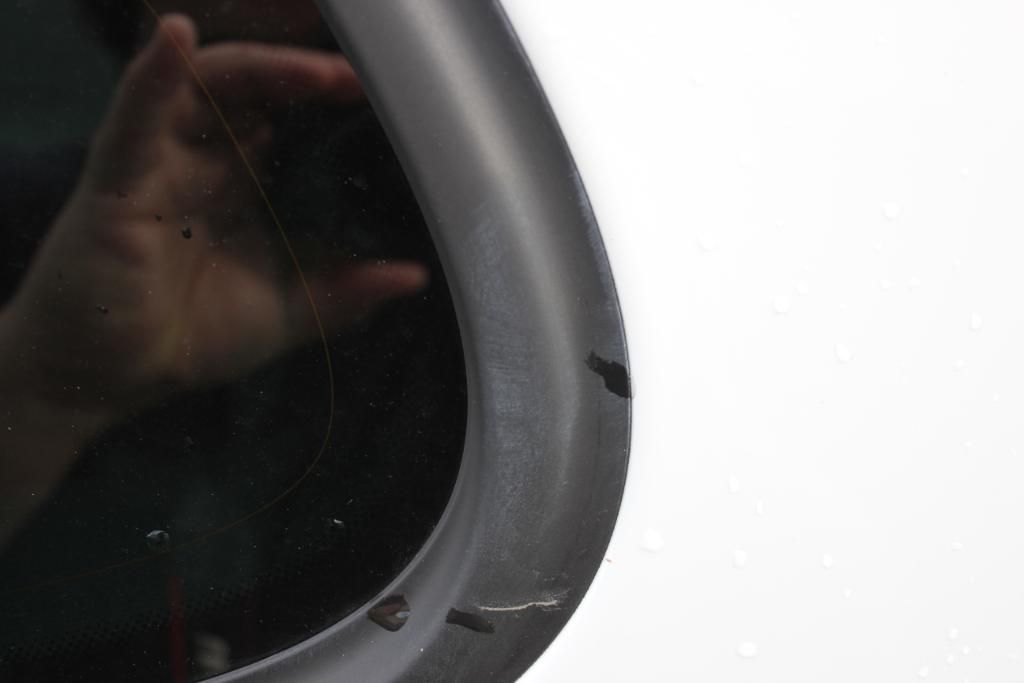
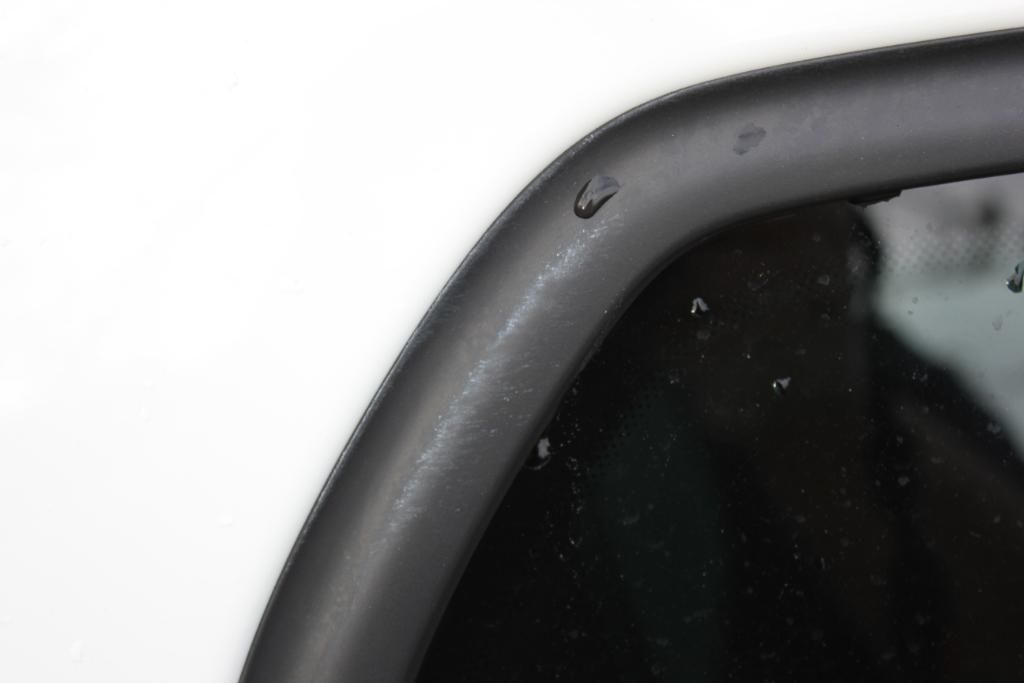
The obligatory dealer-installed polish stains on window rubbers
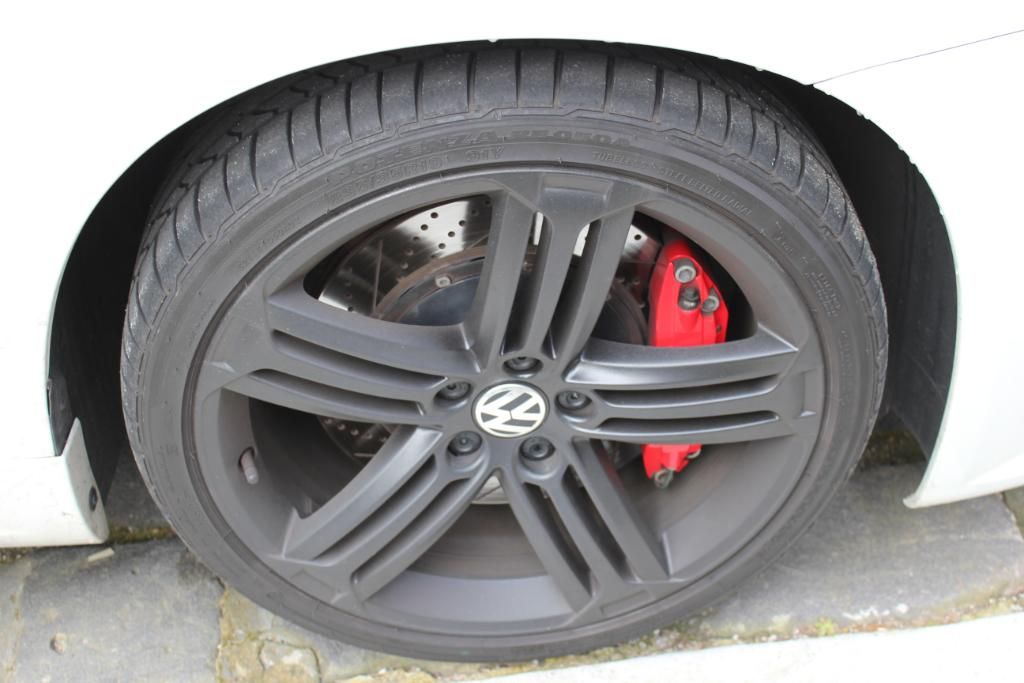
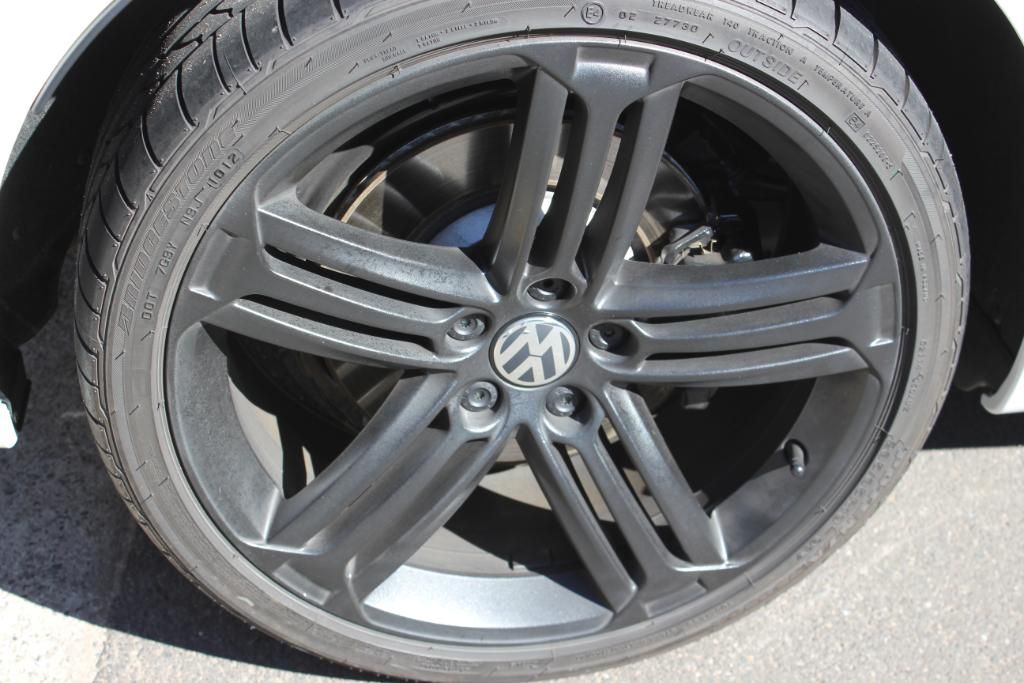
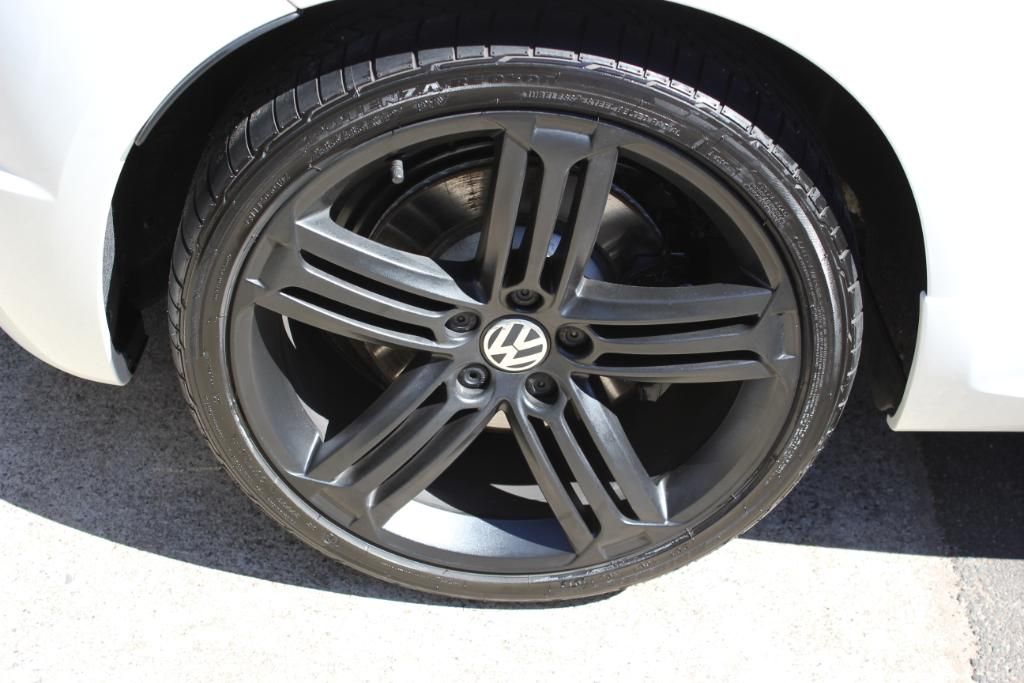
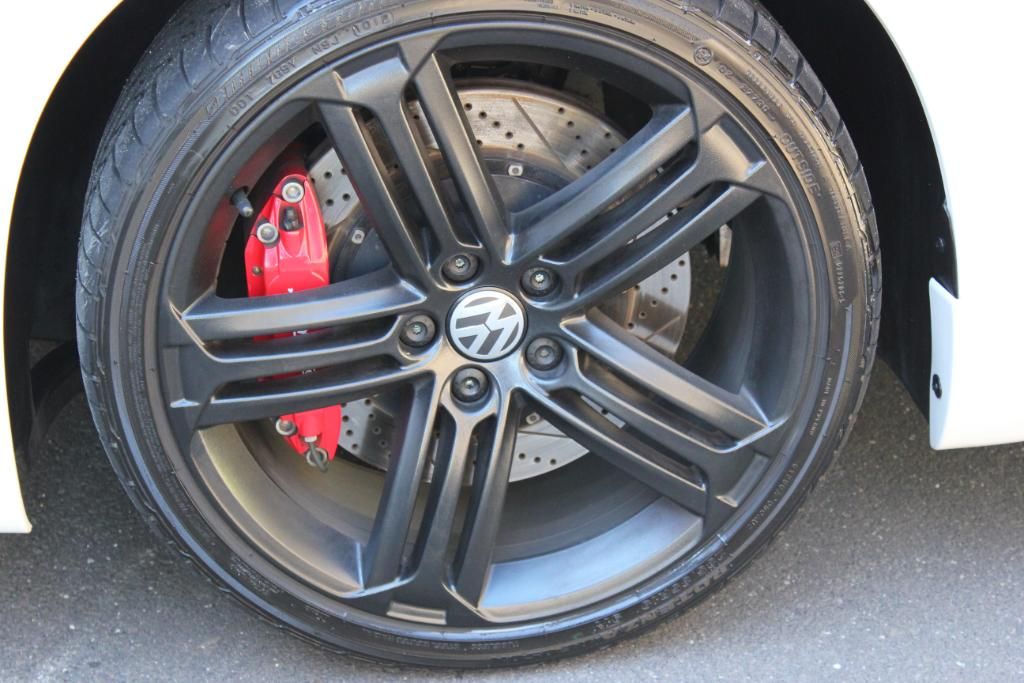
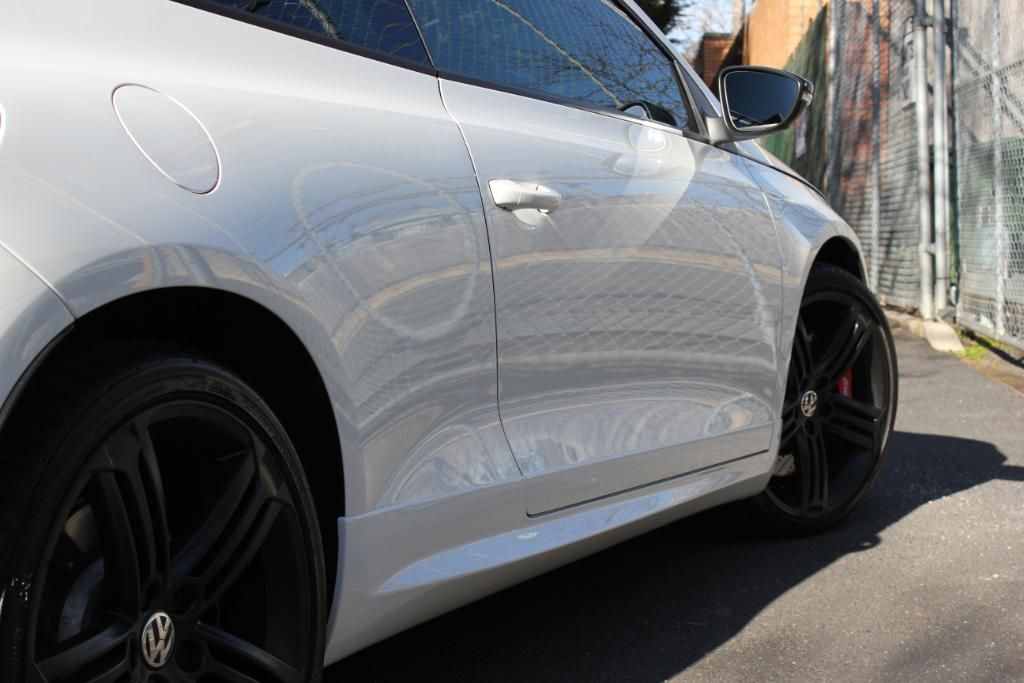
Plasti-dipped wheels that were done by the owner. These things are a bit of a nightmare to clean due to their composition and fragility, but I'll get to that later
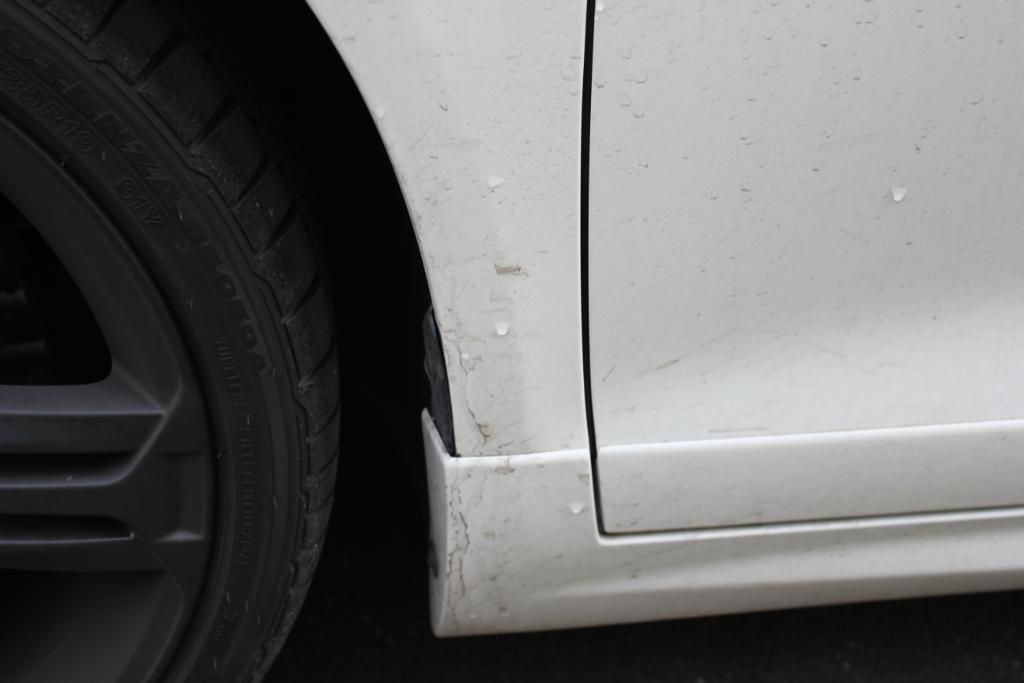
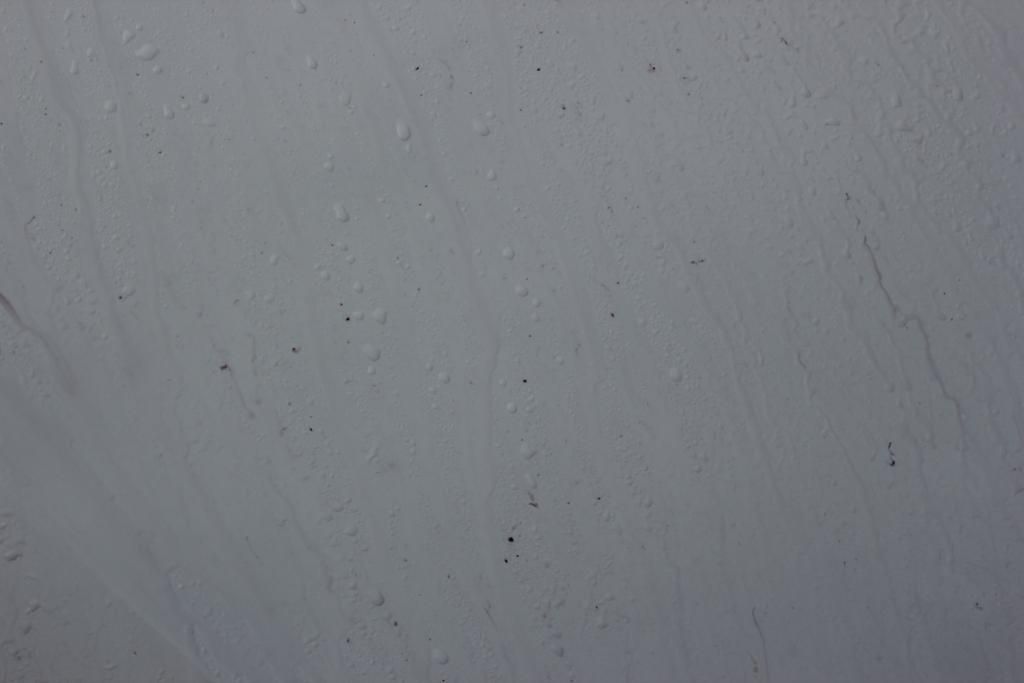
Road grime
And some baked-on bugs from the road trip to round it out
Combo Tar and Ferrous iron remover working away and doing its thing. There was a reasonable amount of ferrous matter stuck to the car. Probably stemming all the way back to pre-delivery
Working away at some of the tar that had also adhered itself to the paint
After the wash it got pulled into the garage. Instead of a standard claybar I used the ZAS Surface Prep Towel. This is the first decent outing for me for this product and I'm actually quite taken with it. After being completely underwhelmed by the last lot of claybar alternative products I tested a while back I was in a very skeptical mindset when I pulled this out of its packet. However after a few mins of using it I was very impressed. It does everything clay does, only faster and easier. I found folding it into quarters worked best in terms of managable surface area while claying. It also means you can flip it every panel and a half or so and work using and instantly clean surface. Much faster than re-molding clay.
I found it also worked contours much more easily due to its malleability. So it was much easier to work heavily sculpted panels (something the Scirocco has in no short supply). For example, the bulges in the roof for the hatch hinges are an area that clay can be a but fiddly to work around (depending on the type of clay you use). The Surface Prep Towel glided over it without any hassle. Same as the lower areas of the front and rear bumpers. There are some tight curves and sharp corners there that it can be challenging to cover well with clay. The towel got them all though.
There was also zero marring. Granted this is on VAG (Volkswagen Auto Group) paint, which is harder than typical Japanese paint, however it's not that hard. I was expecting to see some sort of marring, but there was literally nothing. Very surprising
The only downside I can see with the towel over regular clay is I was finding myself using significantly more lubricant. At least a third more than usual I'd say. Though whether this is me being paranoid I can't say for 100% certain. I'm pretty sure I could have gotten away with using less. The more experience I have using this towel though the better I think I'll be able to gauge the right amount to spray.
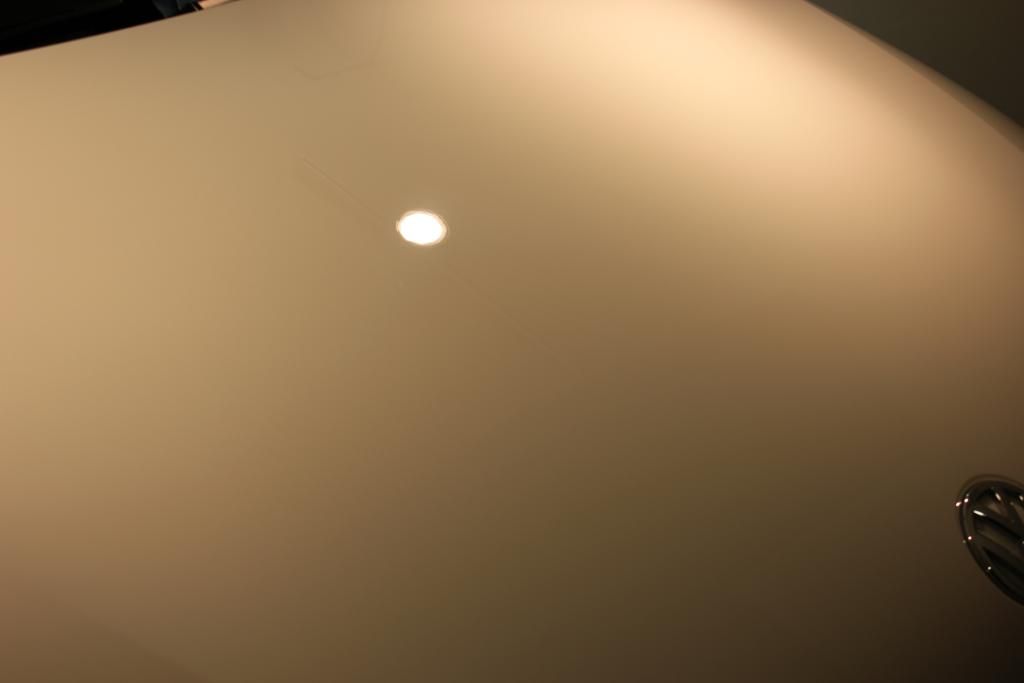
Anyway, onto pic of swirls and water marks
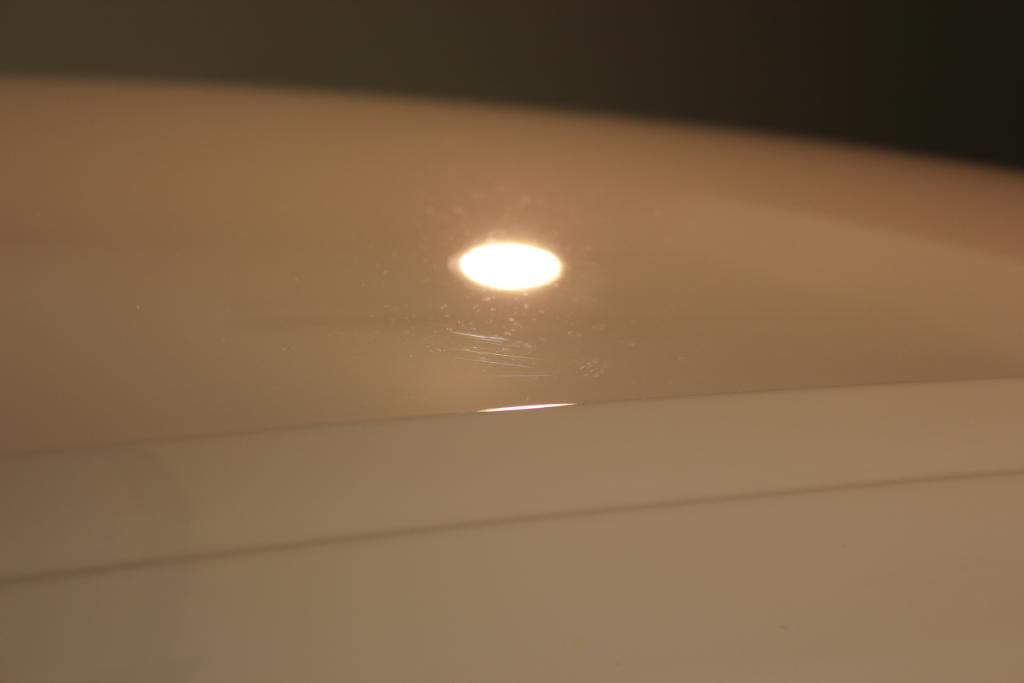
Considering the age of the car, there were some surprisingly deep swirls on the bonnet. It just goes to show again that a car's age can mean very little. Even brand new cars can still have substantial damage.
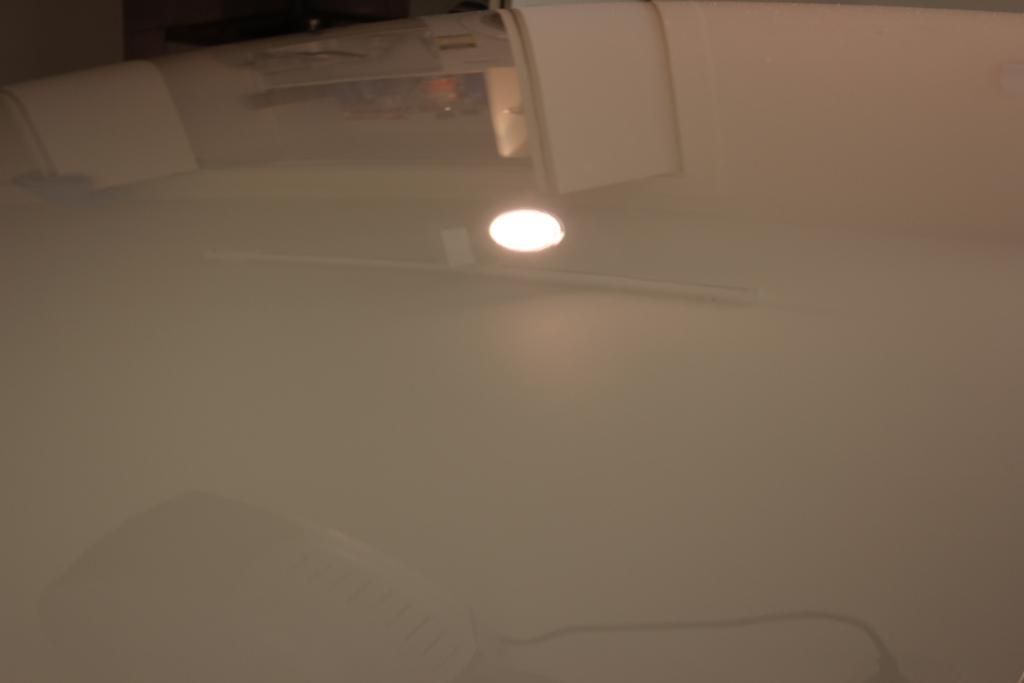
Some hefty water marks too, though these weren't etched too badly. A decent shot of Prima Amigo probably would have gotten 80% of these out. They machined out easily.
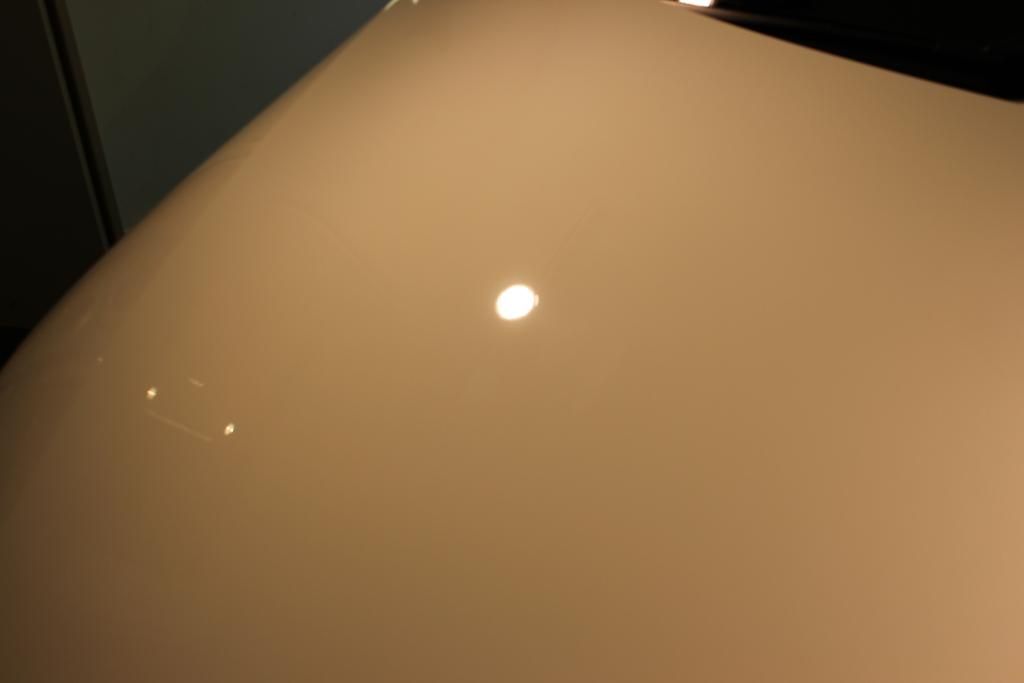
More swirls
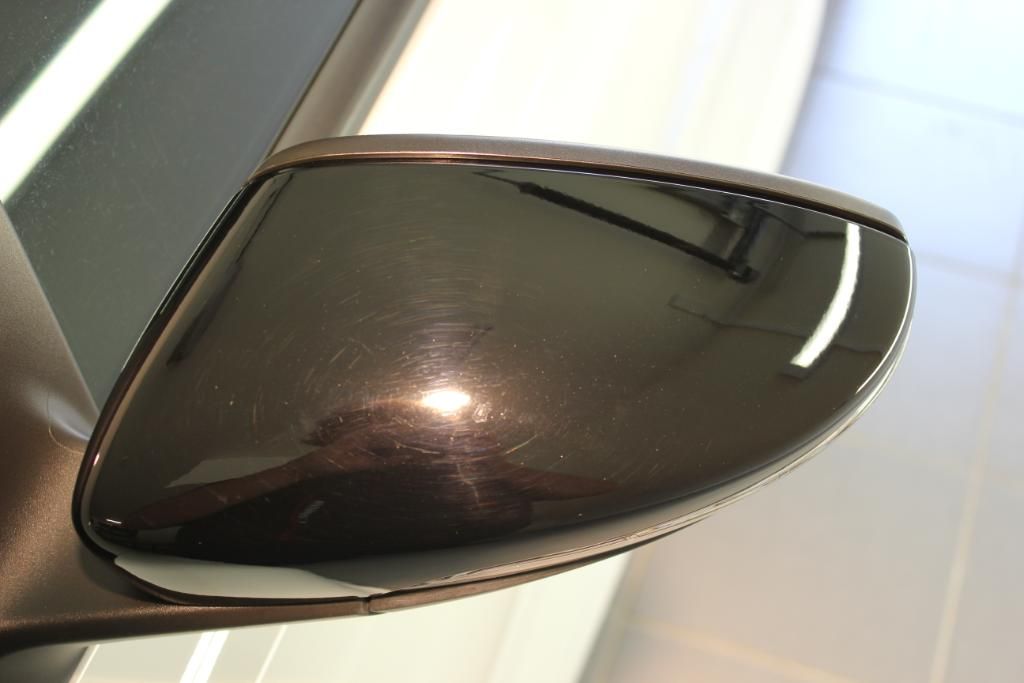
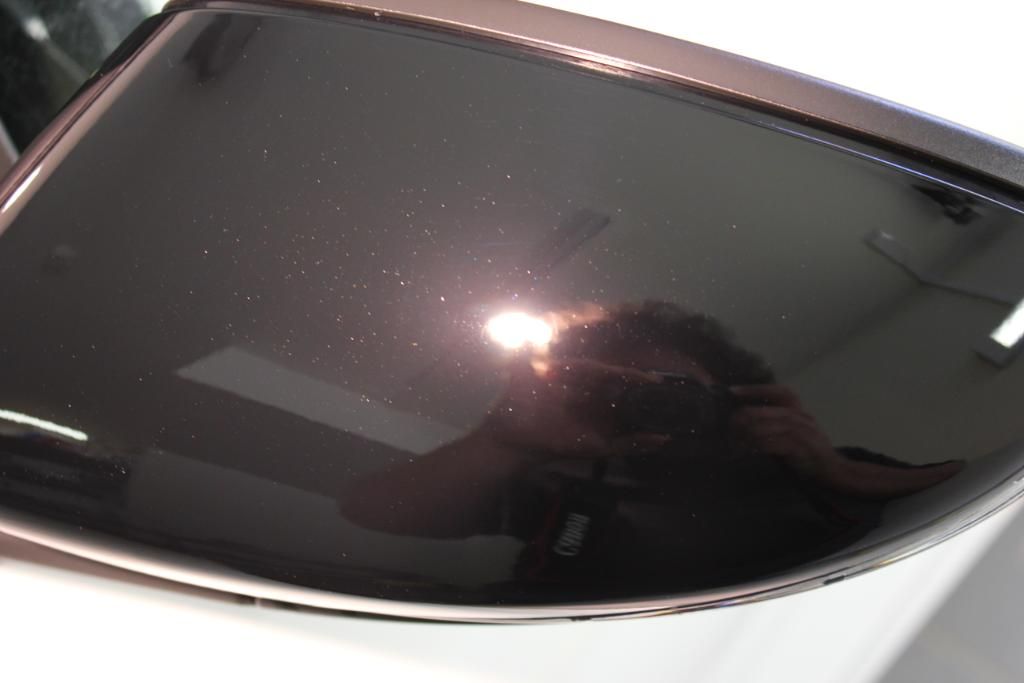
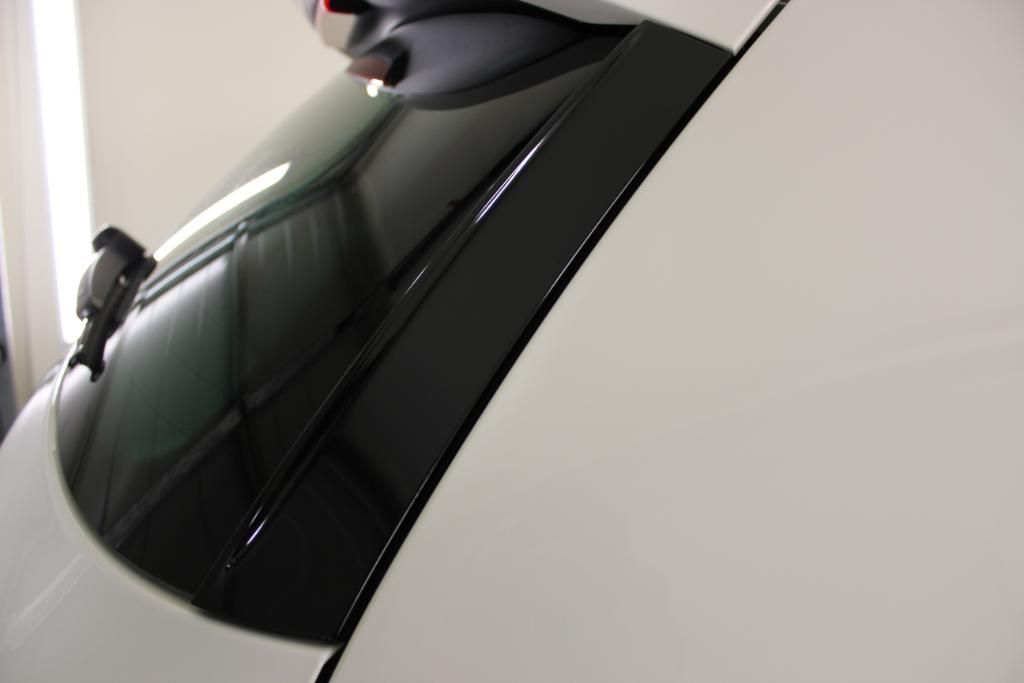
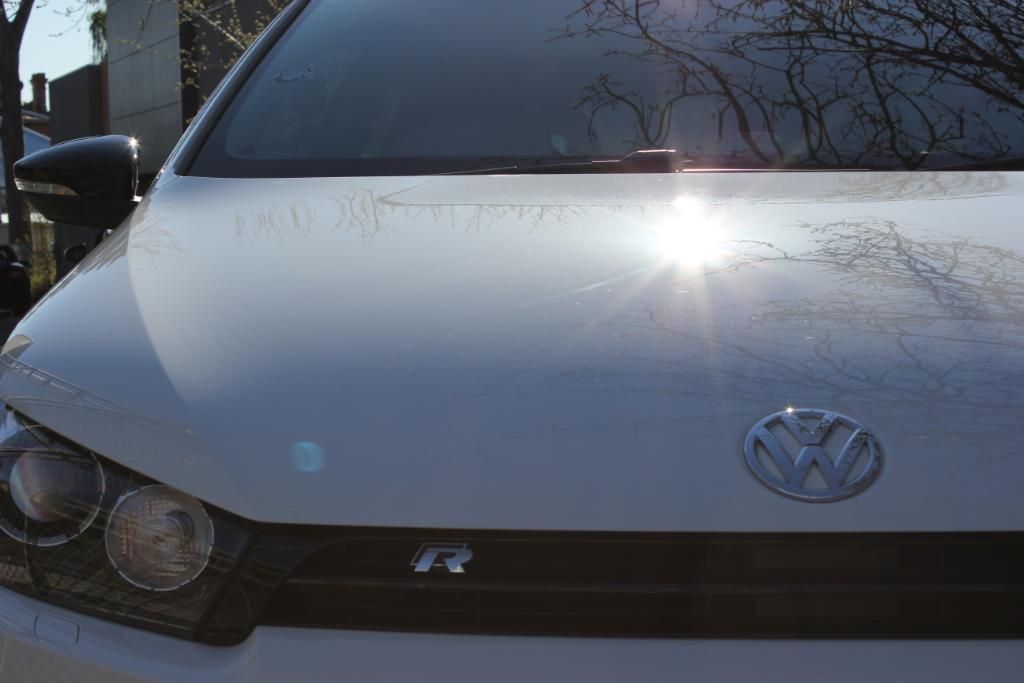
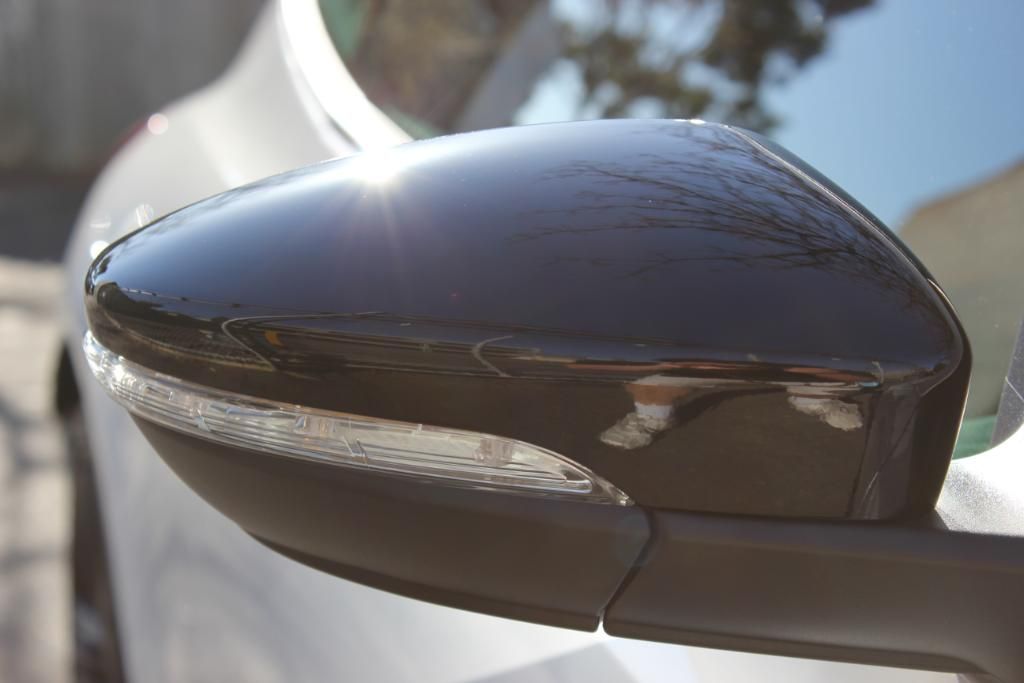
Those gloss black highlights. I reckon the VW design team snuck these highlights in while the engineering team were out to lunch. Visually they do a great job of accenting the car, but being gloss solid black without some sort of coating it's not long before they just become swirl monsters, as can be seen here
Post Correction and Opti-Coat (these highlights are also incredibly soft. I had to finish with a 4" LC CCS Red pad and HD Uno in order to avoid machine-induced marring with the polisher)
Paintwork after two stage correction. First stage Optimum Polish II on Orange LC CCS. Finished down with HD Uno on White LC CCS
Front gloss black sections taped off for Opti-Coat. All the gloss black sections on the car were Opti-Coated, but the rest of the car was an Prima Amigo/Epic Sealant combo
Rear sections either side of the glass (Opti-Coated)
1st layer of Prima Epic and tucked in for the night
The following day (Sunday) the second layer went on and while that was curing I set about cleaning up the rest of the car, wheels, glass, rubbers, plastics etc
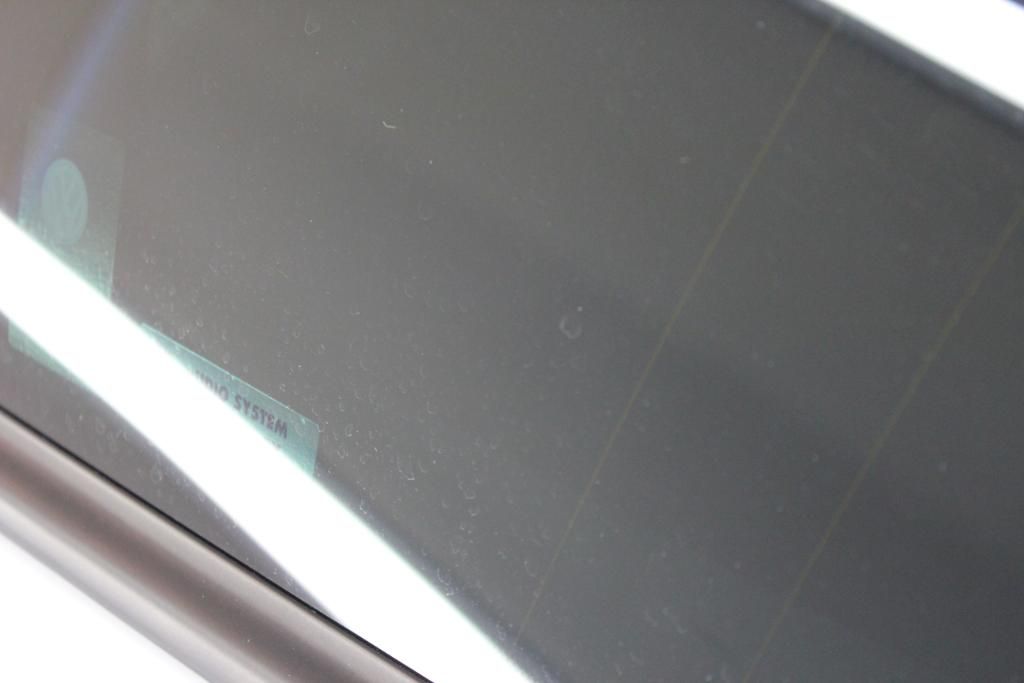
Glass (water spots)
Water spots removed


 Reply With Quote
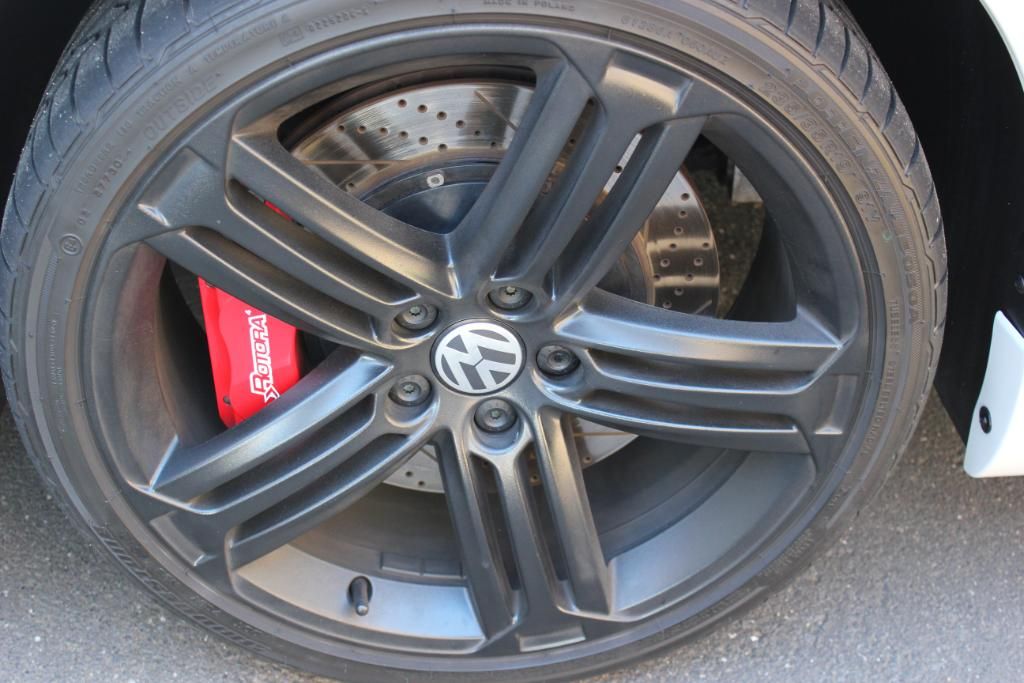


 )
)


