Again, thanks for all the feedback and interest in the STi Lip. Toddy wanted special mention so...big shout out to Toddy22587 for giving me a hand again. There's been a fair bit of feedback so below is a working progress "how to" for any interested....you're welcome.
Installation Time: 2hrs - I was in no rush
Cost for mod: Varies depending on supplier. Mine was $112.99USD landed ($42.99USD for the Lip)
Difficulty (out of 10): 2 (maybe 3 if you're not too handy)
Selection: 06-07 Impreza S204 Front Bumper Lip (Urethane)Where to buy? See Link here | EbayClearance: +150mm from ground on King Springs (low)
Protrusion: +30mm (how much it sticks out from the bumper)
Tools req: Multi-tool (or hacksaw, knife) Impact Driver, G or F clamps, Car Jack, Stands, flat-file
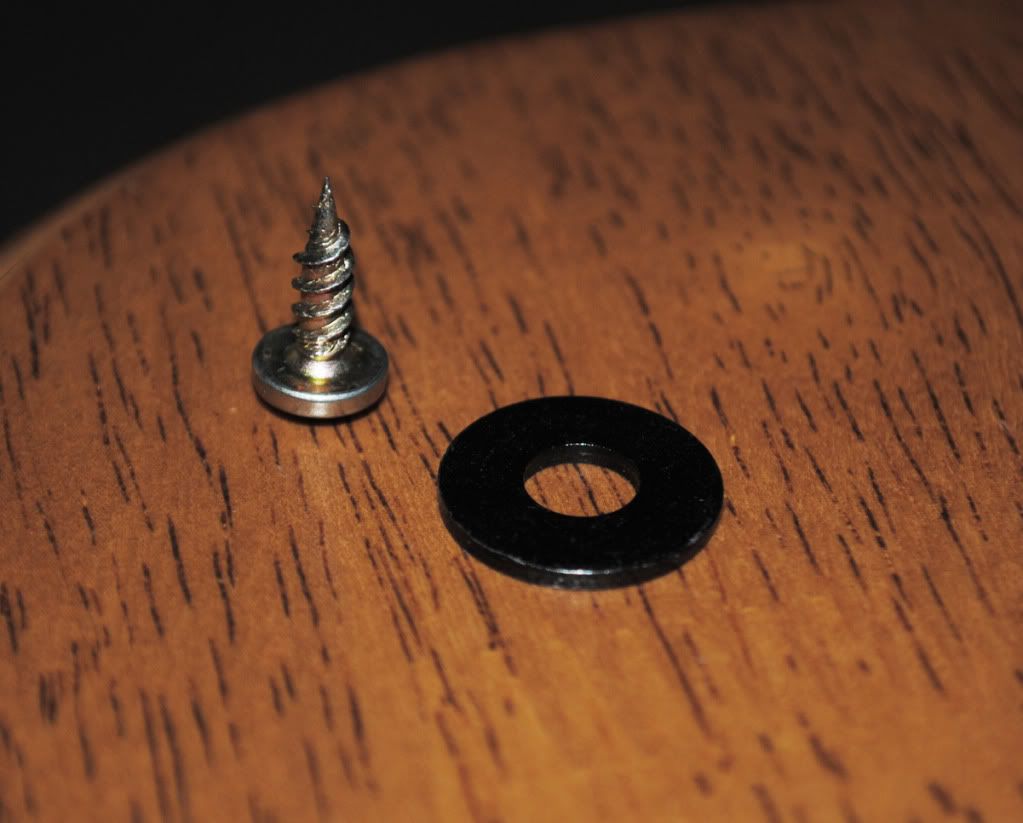
Fixings: Clear silicone (or black), self drilling screws (12mm 5off) & (20mm 4off each side), washers (13off)
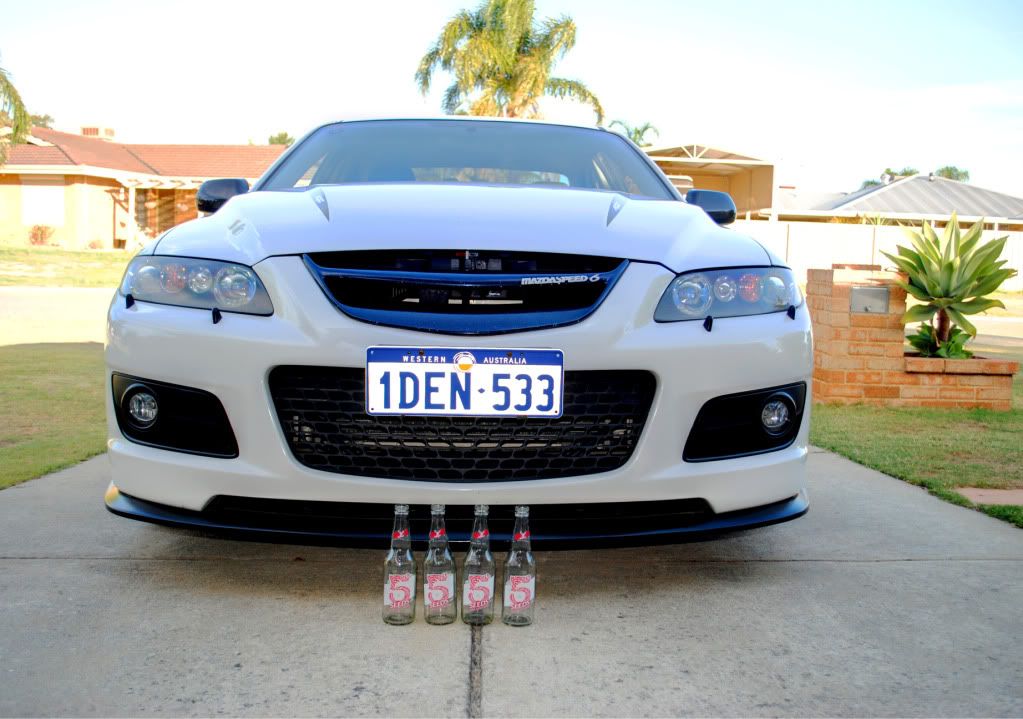
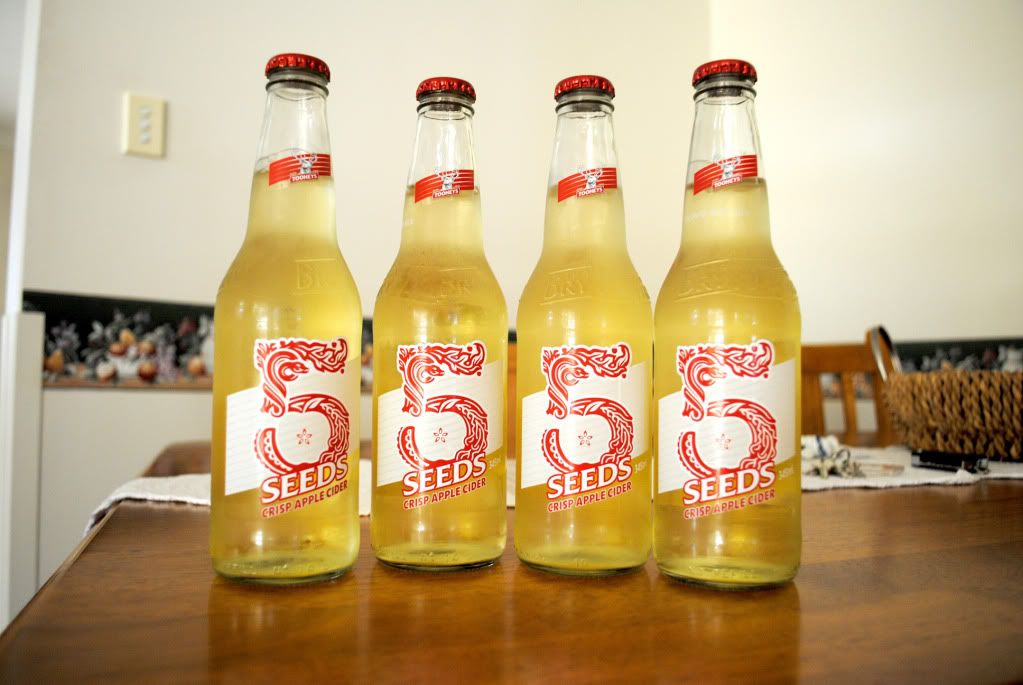
Beverage: Preferred beverage(s)
To Start:
You have you preferred beverage at the ready
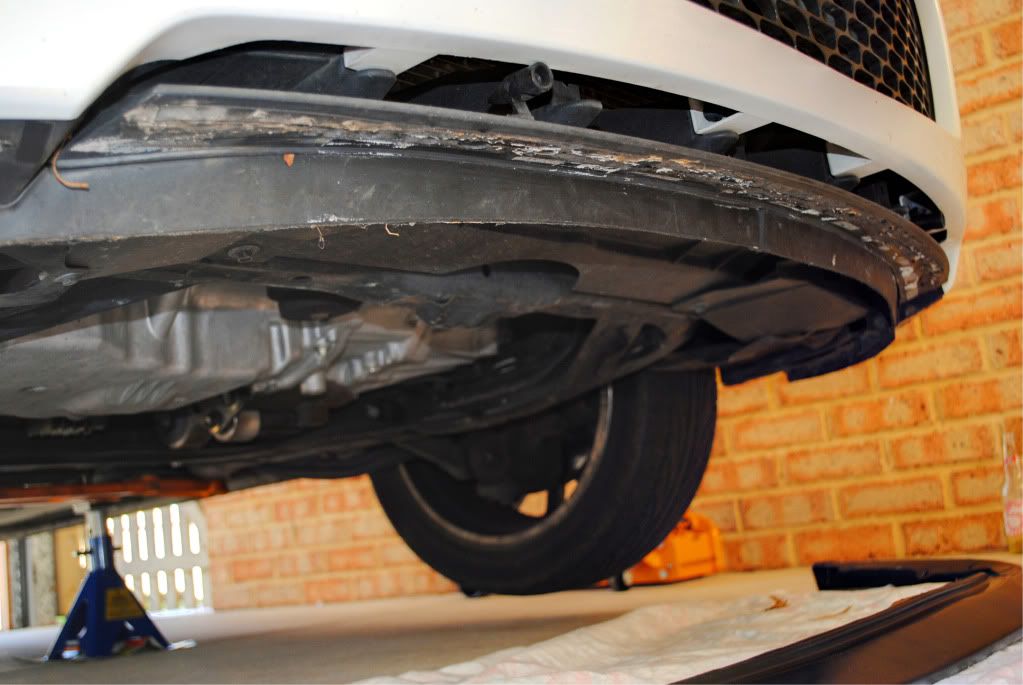
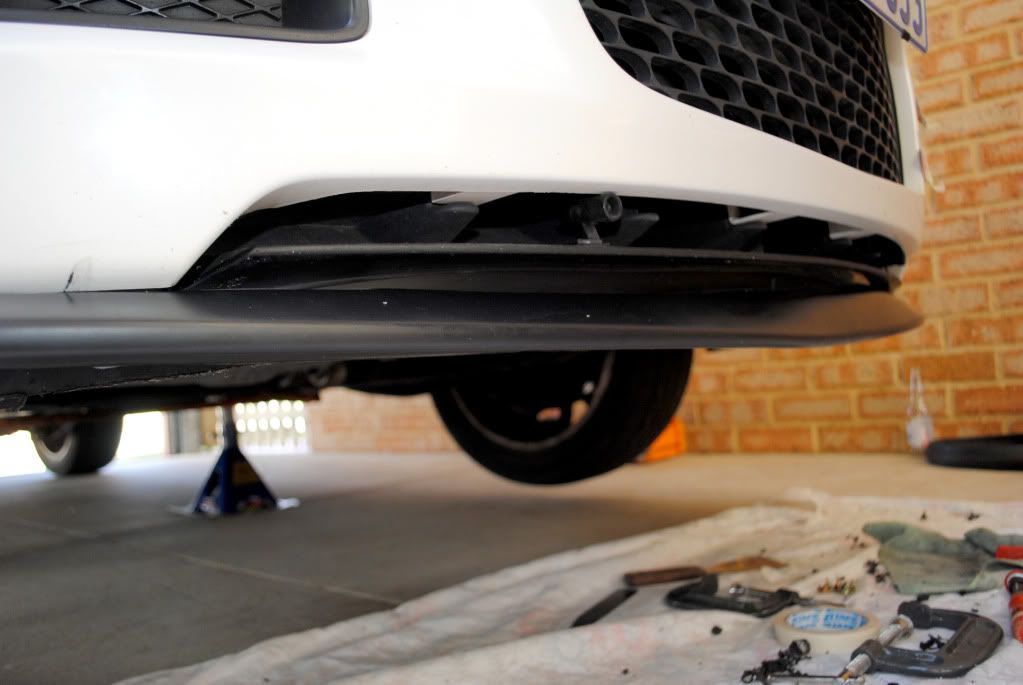
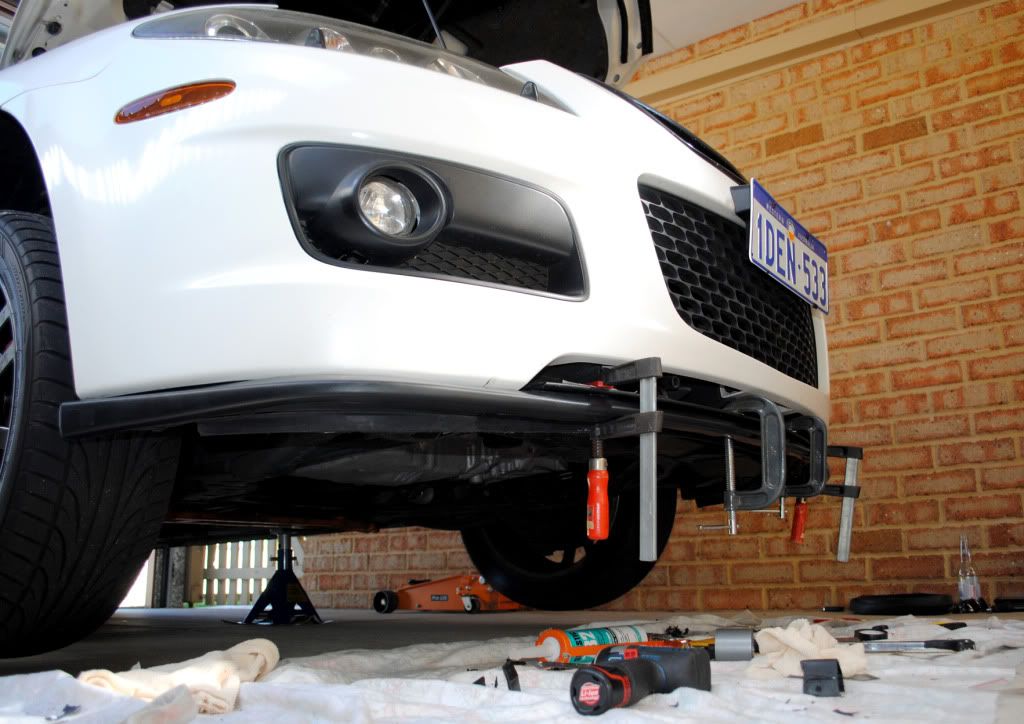
Ok so a look at what we have to work with. You can see my V1.0 Lip installed as per the other DIY Lip thread. The STi Lip is placed just under offering a comparison shot between the two, if anyone is interested. It's good to step back align and give some thought to how to go about such a modification. The Lip is designed to fit a 06-07 Subaru WRX STi, which means it WILL not fit 100% straight up! Some modification is required and even still *may not be 100% fit. It's important to accept and realise this prior to progress works
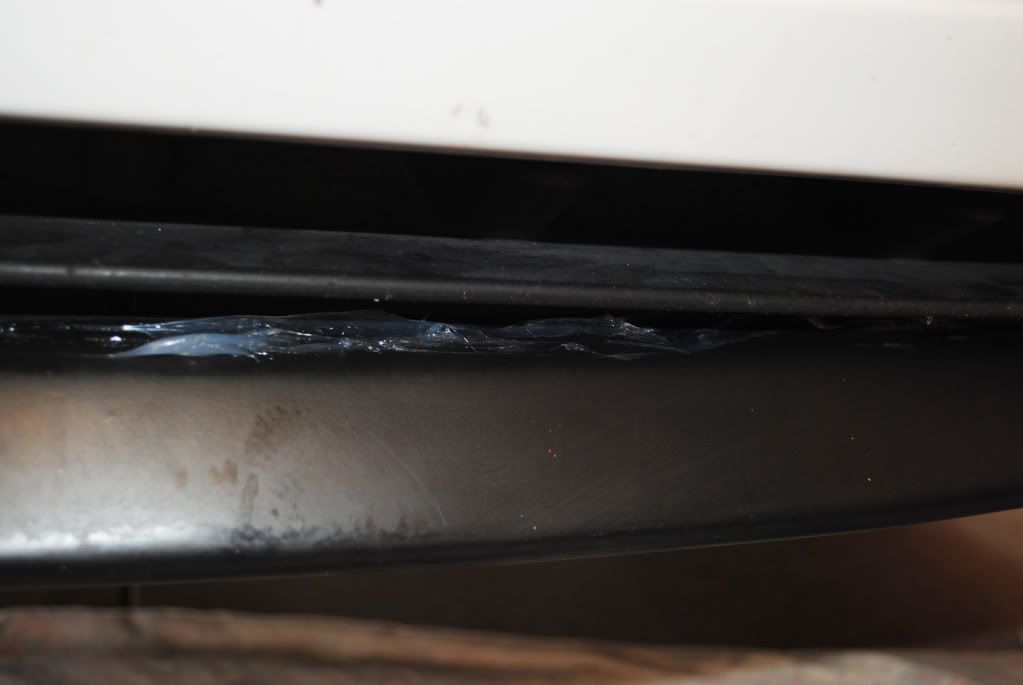
Many will not have to do this next step but I needed to demolish and dismantle my existing rubber lip. Screws, silicone, double sided tape etc all removed, scraped and cleaned with wax and grease remover (this is how your MPS will look if you it is standard) Shot was taken prior to cleaning
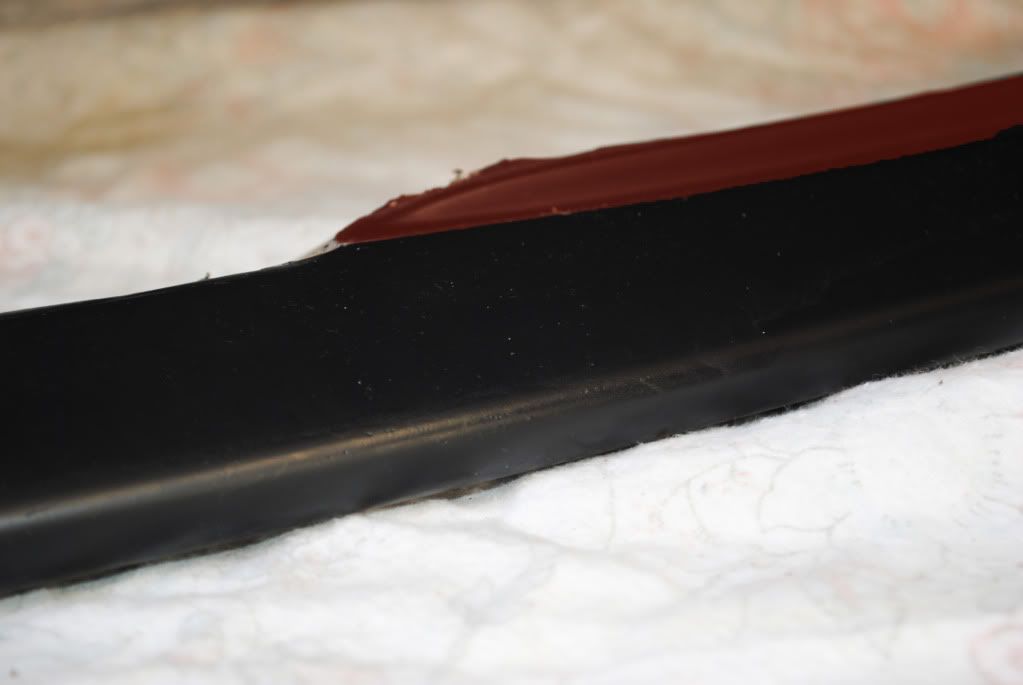
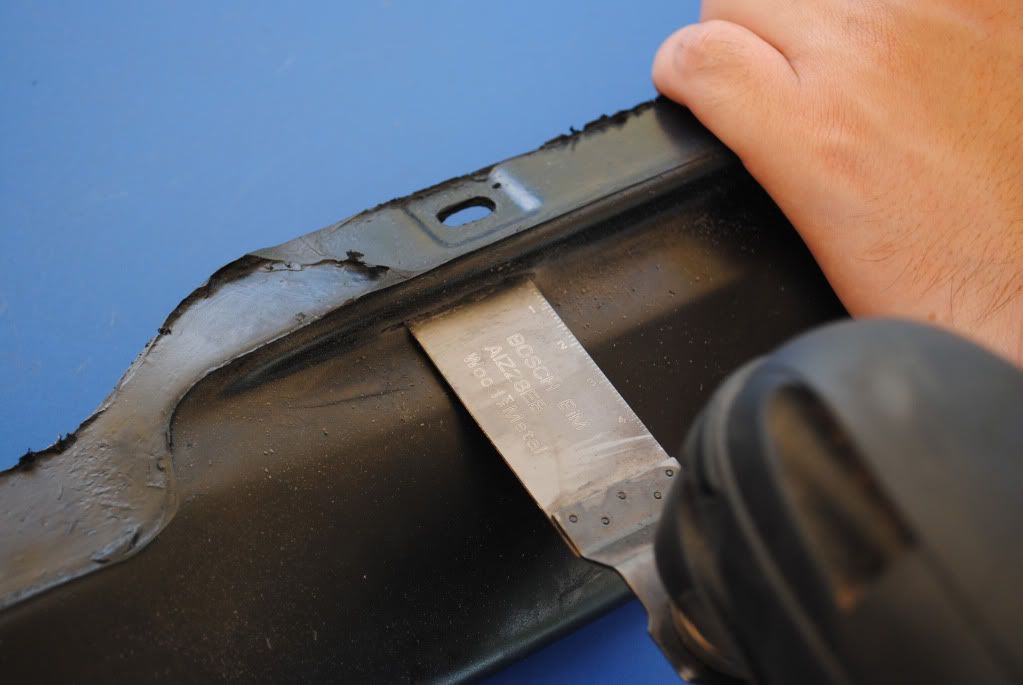
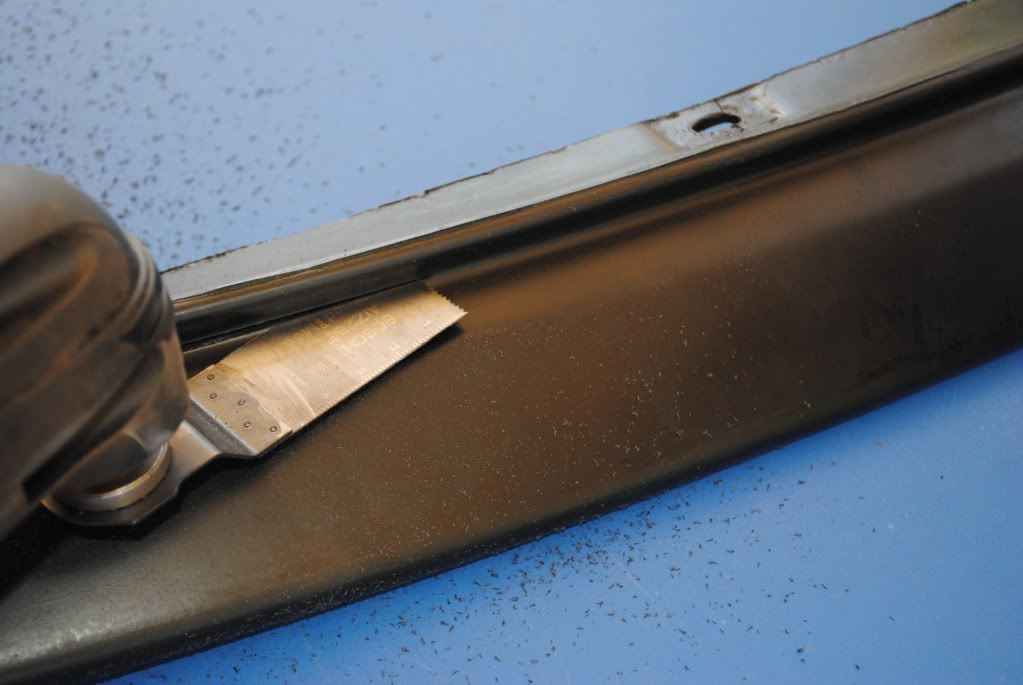
On the top of the Lip the is a bit of a step up (basically a bit of plastic that steps up vertically a few mm). You can probably fit it with this still on, but it won't look great. So you'll need to cut it off. The best and easiest way to do so is by using a multi tool. A few images to demonstrate this: I have highlighted the "waste" area, remove this
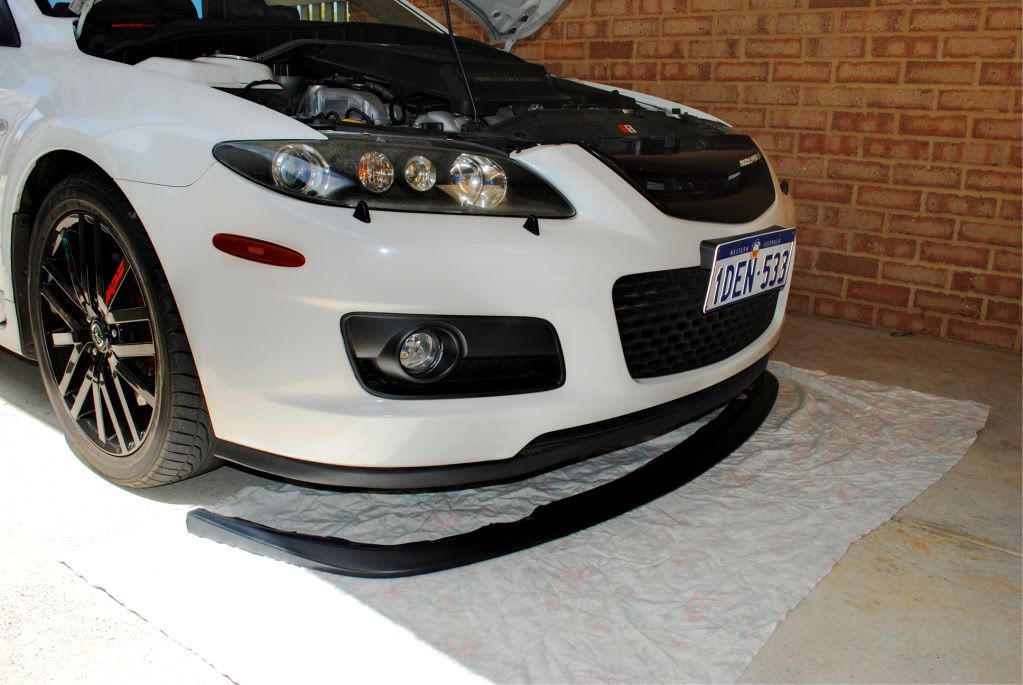
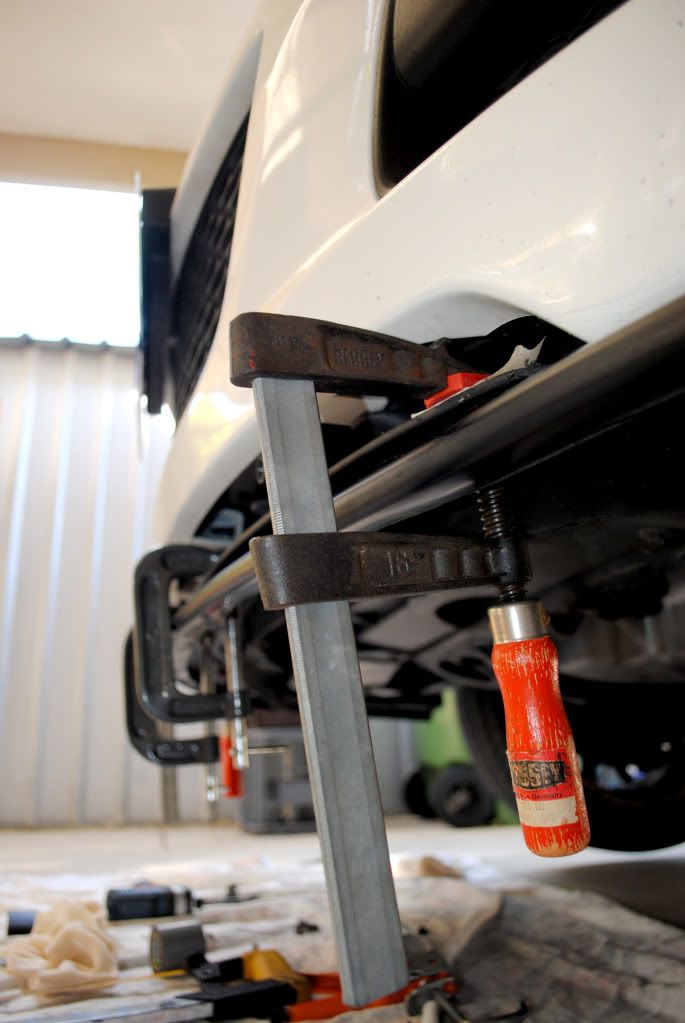
After doing this, we realigned the Lip to check for fit with that plastic step-up removed. Fits flush now. We decided to work from the sides, then focusing on the middle. Use of the clamps come in handy here when checking fit. When happy fit the Lip from the sides. This involves the 4 20mm screws penetrating the underside of the Lip and into the underside of the bumper. 4 screws each side *with washers, easy does it, don't strip the thread in the soft plastic and not too tight. Note the middle section is UNSECURED at this point in time.
These are the screws on the underside of the right hand side of the Lip
For the middle section (as mentioned above is unsecured) I used Clear Silicone (takes a while to fully bond) but has never let me down. Run a bead on the top of the STi Lip and press the Lip together with the underside of the bumper. Use clamps here to hold in place. Now its time for 5off 12mm self drilling screws. From the underside penetrating through the Lip and into that Lip-Vane. Using washers, go ahead and screw them in. 12mm *might just poke out the top but try and drill back as back as possible (there is more meat plastic towards the rear of that Lip-Vane) 5 equally spaced screws, continue using the clamps for as long as you like to give the silicone a chance to set but the screws should be adequate enough to allow the silicone to dry. I was driving within hours of doing all this.
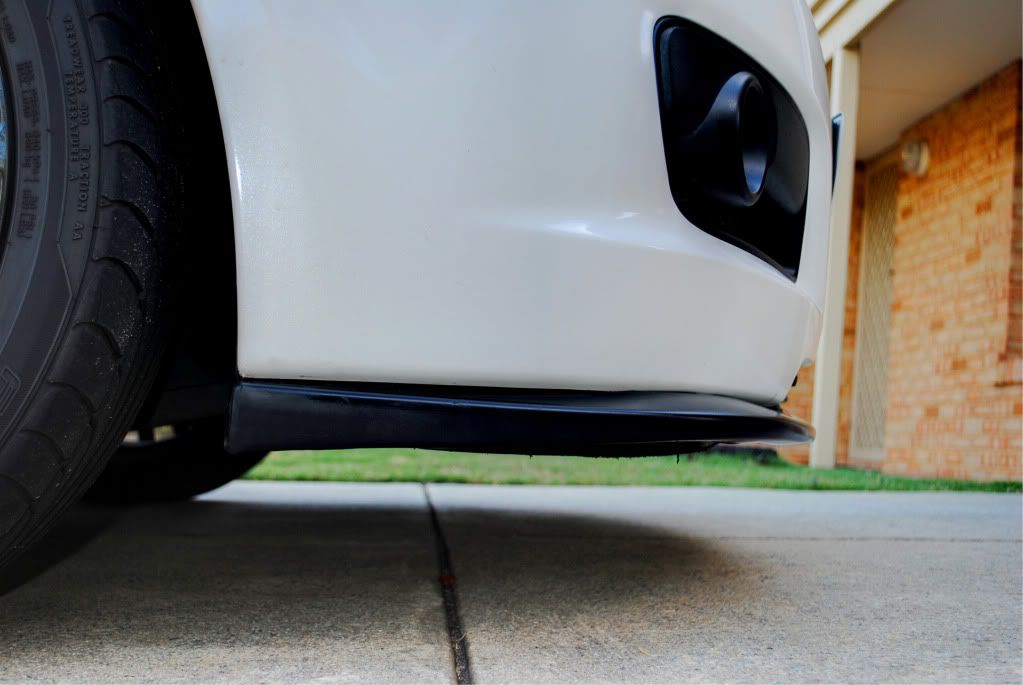
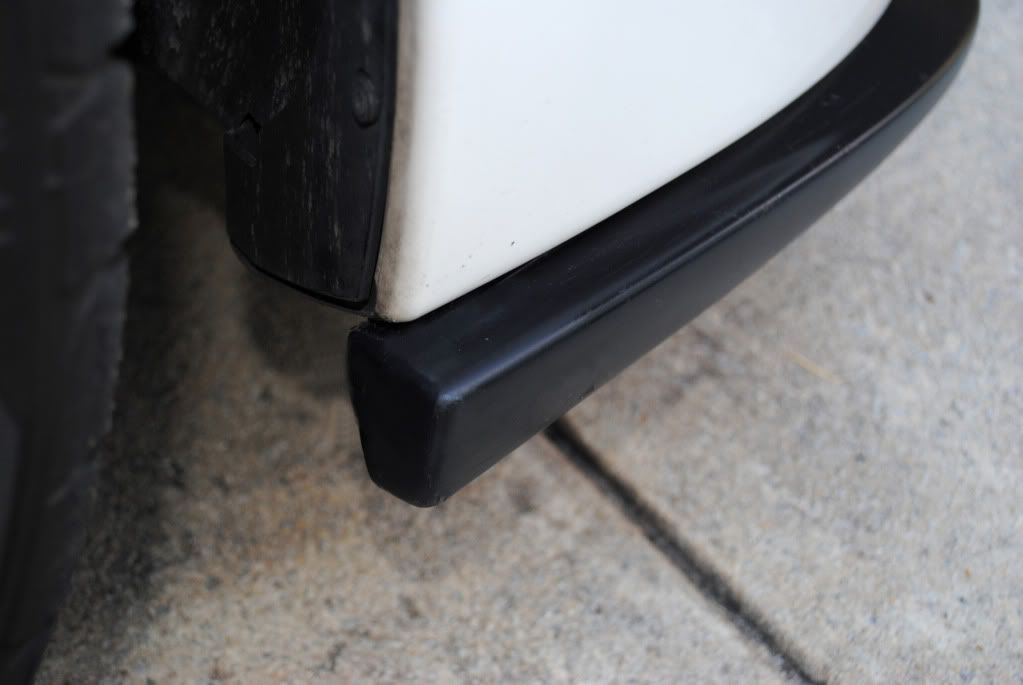
Now, around the sides. The end caps will stick out about an inch or so each side. The Lip is a touch too long for the MPS and the wheels may hit the lip when turning. You'll need a hacksaw or similar to cut this at 90 degrees or in-line with the bumper. It'll look a bit dodgy for the minute but it needs to be done.
Once you've trimmed the end caps off, I filed the rough edge off a bit and smoothed it out a touch. It's plastic so it just flakes away. Use the cut-off caps to create your own end cap. Basically trim off the top, side and bottom but LEAVE THE END CAP. Should be just a single (more-a-less) flat piece. Holding it in place blog it up with some silicone or adhesive on the inside so you won't see it. I used insulation tape just as extra to hold it in place to allow the silicone to dry. Thanks again Toddy I was doing more important things like finishing my 5 seeds when I turned around he had the end cap trimmed and good to go! Looks something like this...
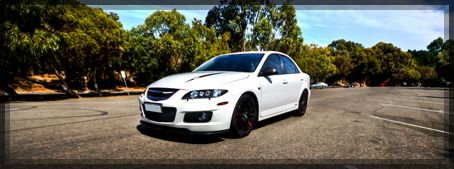
And a side profile pic...


 Reply With Quote