


Thought I'd put together another guide on my recommendations regarding washing and decontaminating your car.
Car Washing
This section will cover some info on the best way to wash your car to ensure the least amount of damage inflicted by the washing process
The Two Bucket Method
(No this is not some sort of porno, get your mind out of the gutter)
The two bucket method, quite simply, uses two wash buckets. one filled with soapy water. The other filled with clean fresh water.
After washing a panel of the car with a wash mitt, dunk the mitt into the bucket with the clean water and agitate to release dirt and grit that is in the mitt, before dunking it back into the soapy water to continue washing the car.
By doing this, it helps minimise the amount of dirt and grit that gets transferred back on to the car via the mitt, and thereby helps to avoid paint swirls otherwise caused by grit in the wash mitt or sponge.
General Car Washing Tips
Wash and rinse panels as you go. Don't attempt to soap your whole car at once. Soapy water drying on car panels can cause water marks and be annoying to remove.
Have a separate bucket of soapy water for your wheels. Modern cars, especially performance cars, generally have wheels that get very dirty very quickly due to brake dust. By having a separate bucket for your wheels it helps contain that dust and keep it away from the soapy water you use to wash the rest of the car with. Also use a separate wash mitt/sponge for your wheels and keep them separate.
Wheel cleaners are ok, but make sure the one you use is safe for your wheels. Don't assume. Acid based wheel cleaners should be avoided unless you're 100% confident you know how to use them and they are safe for your particular wheels.
If you drop your wash mitt/sponge on the ground rinse it immediately under a tap and ensure you've removed any grit. Anything left on the sponge/mitt will almost certainly cause damage to your car's paintwork.
Decontamination
Decontamination is the process of removing surface debris adhered to the car and making the paint smooth again. By surface debris, I mean containments such as metals (ferrous contaminants) bonded to the car from exhaust gases, hot brake dust, rail dust (from trains). After a while, much of this ferrous contamination also oxidises and can discolour the paintwork. Decontamination also involves removing other contaminants such as tree sap, tar, and all other manner of particulates that contribute to that rough feeling paint can get that doesn't come off with a regular wash.
Contamination/Oxidisation is something that happens as a normal part of driving your car. If your paint feels rough, like sandpaper, even just after you've washed it, that's contamination. It can be minimised by ensuring you have a constant layer of paint protection of some description, whether it's a wax, or a sealant, or a permanent coating.
With no protection and daily driving, a car's paint can feel rough again even after a month or so after decontamination. Though obviously this can vary substantially. With protection, a car may only have to be decontaminated once a year, though general recommendations are every 6-8 months unless you have good sealant based paint protection, or you have a permanent coating such as Opticoat.
For sealant based paint protection, decontamination generally only needs to be done once the paint protection dissipates or is renewed. For permanent coatings like Opticoat, you should never need to decontaminate, as the ceramic polymer coating is designed to withstand this sort of contamination.
Decontamination, using either of the methods below will strip any glazes/waxes/sealants off the car. They will need to be restored once the decontamination is complete otherwise the paint surface will be unprotected.
Decontamination is normally done with two methods.
Chemical Decontamination
This method uses harsh chemicals to help remove (or at least loosen) surface contaminants, primarily ferrous and tar debris, both of which can be the hardest to remove (outside of epoxy-based contaminants such as road line marking paint).
There are a few products on the market that can do this, most of which are available via online detailing specialists.
NOTE: These products are generally acid-based and should only be used if you know exactly what you are doing. Avoid plastics, rubbers, and untreated metals. Wear gloves. Don't use them on cars with hot panels, and NEVER EVER let these products dry on the car's surface.
I cannot stress this enough. Treat these chemicals with the utmost respect. Avoid them if you are not 100% confident.
Also, if you use these products, always fully rinse, wash, and rinse the car again after. Never just rinse and be done with it. Always wash to ensure you get every ounce of the chemical off.
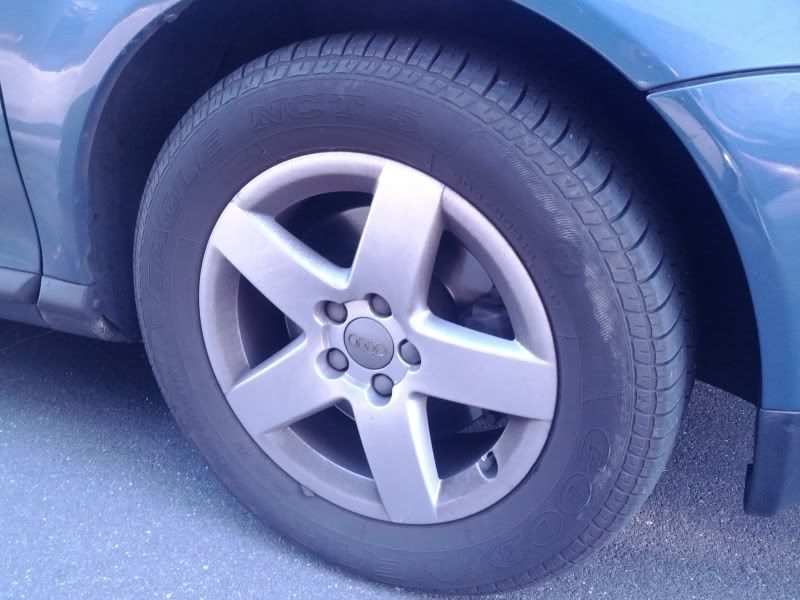
Here is a pic of chemical decontamination on a set of wheels with brake dust build up
Before
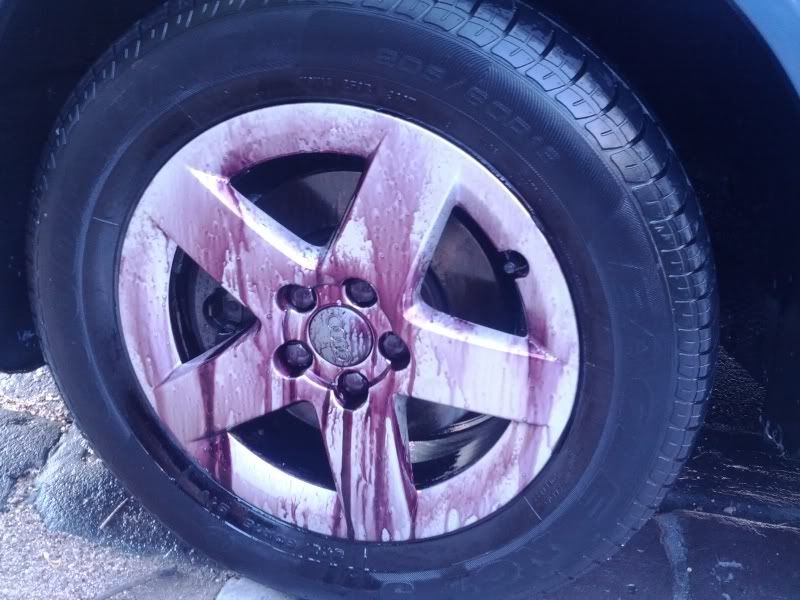
During - After about 3-5 mins dwell time (this particular chemical turns purple when it encounters metal contaminants)
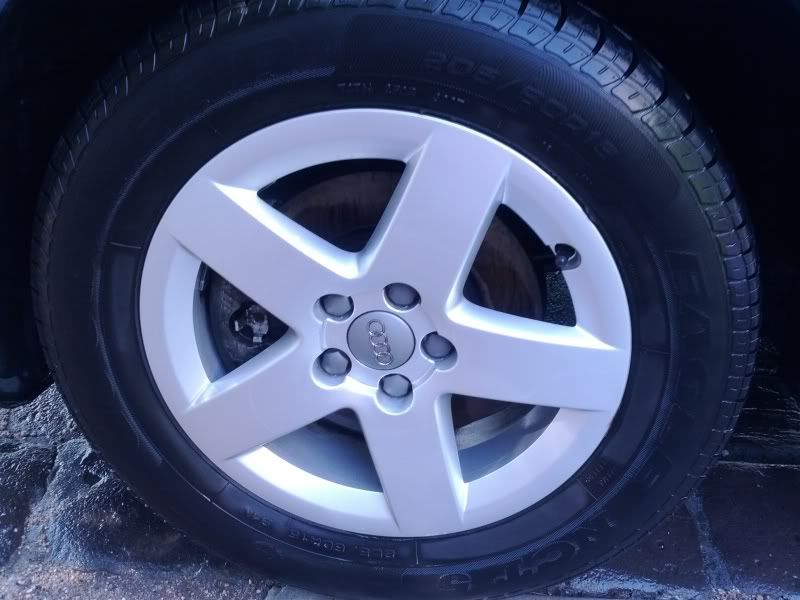
After decontamination and washing
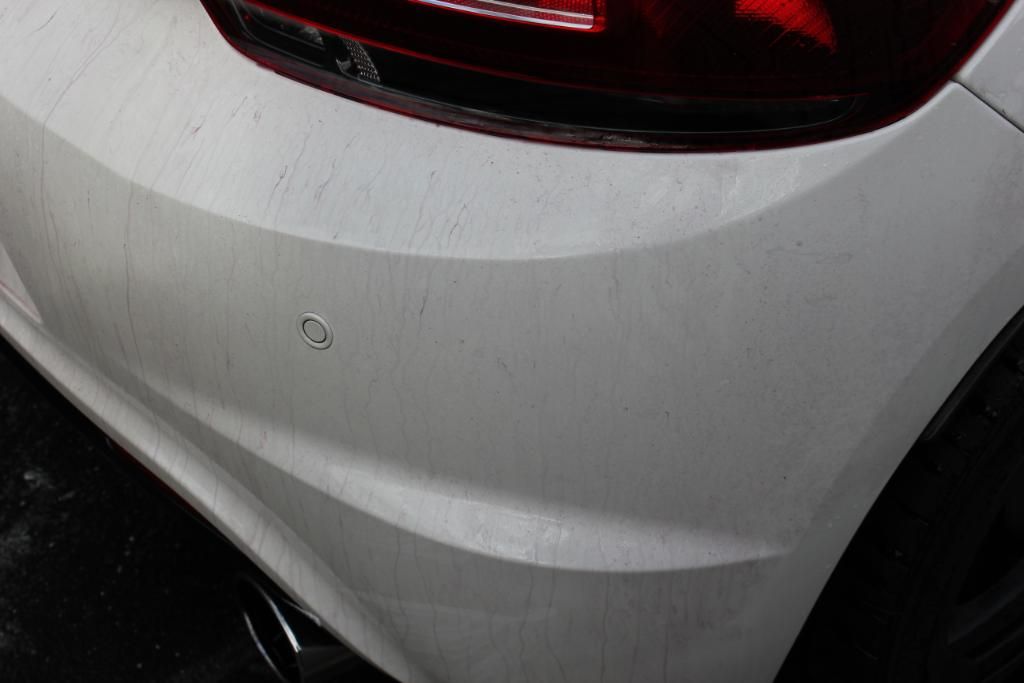
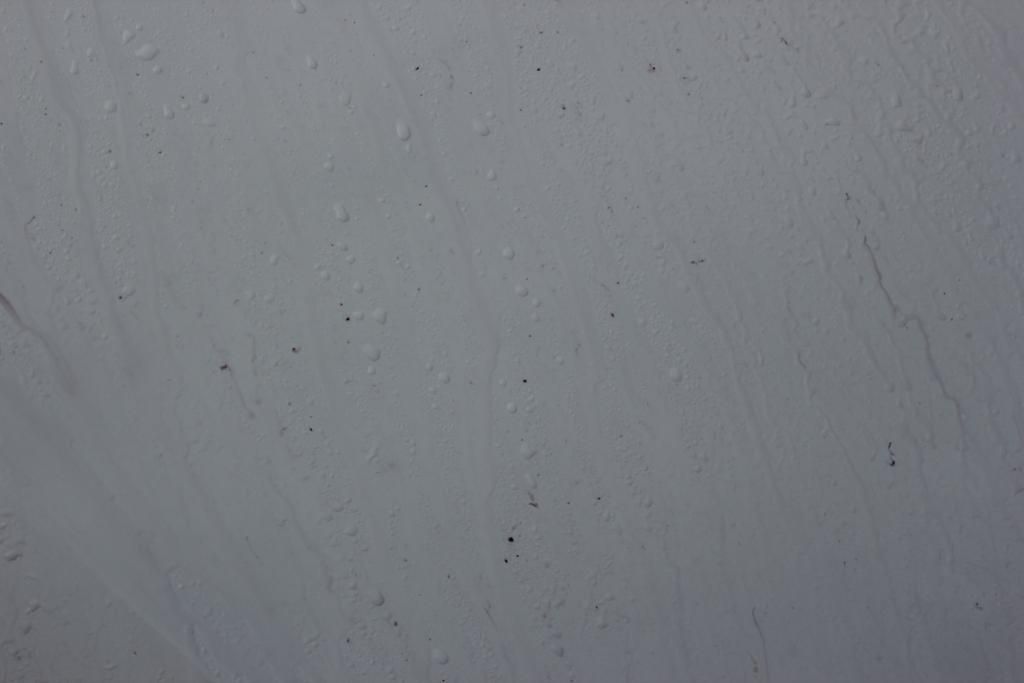
Here is the same process on paint. Note the purple streaks where it is loosening and removing the metal contaminants
Clay / Clay Alternative Decontamination
This method is the most common and safest way to decontaminate your car. It's also relatively inexpensive and, unless you have a permanent coating like Opticoat on your paint, something that should be done every 6-8 months or so.
Clay decontamination ("claybarring") involves using a special automotive detailing clay, along with a lubricant. The clay is moulded flat and then very lightly rubbed over the surface of the car, using lots of lubricant so that it glides across the surface, picking up contaminants as it goes.
The clay and lubricant can be bought separately, or in kits such as http://www.zas.com.au/product/173/prima_clay_kit.html
To claybar a car, first wash and dry it.
Then make sure the car is in a shaded area and the panels are cool (claybarring hot panels can result in the clay disintegrating and sticking to the panels, making removal quite difficult)
I normally break my claybars up and use a third to half at a time, storing the remainder in an airtight container (tupperware works well for this). Unless it's extremely bad, you should be able to get away with only using a third to half an average claybar on most medium sized cars. Having said that, if the car has never been clayed and it's more than 3 years old, it's not unheard of to need an entire claybar to decontaminate the car. Your results may vary.
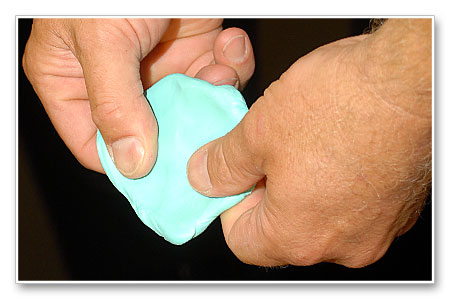
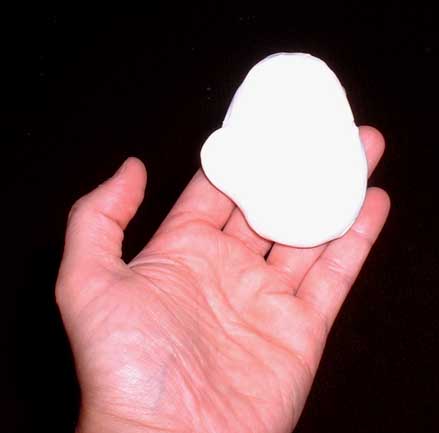
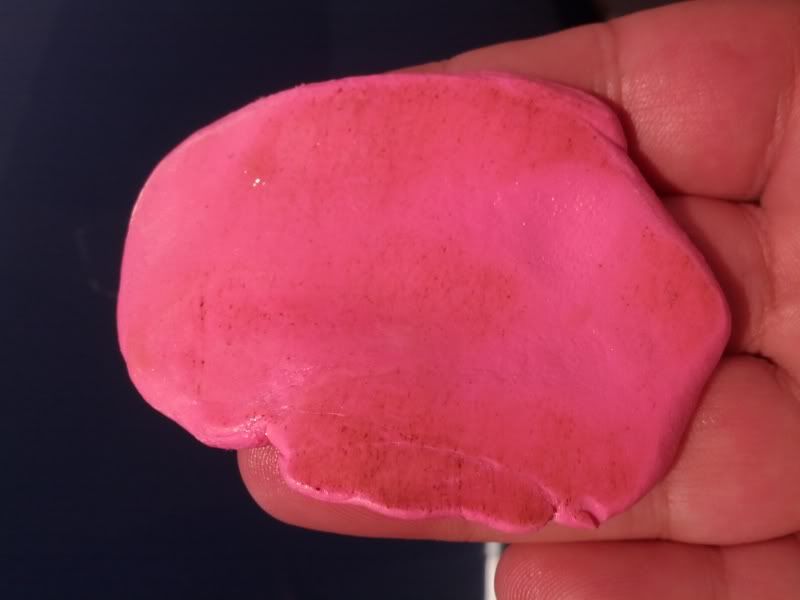
Flatten out the clay, kneading it with your thumbs, into a palm-sized piece that's relatively flat and roughly 5mm thick
Use the clay lubricant to spray the section of panel you want to start with (keep the working area to roughly 50cm x 50cm at a time max). Two or three solid trigger pulls for that sized are are good. Always err on the side of caution and use more, rather than trying to be economical.
Use the clay lubricant to also spray the clay itself a couple of times to 'prime' it
Then work the area in a cross-hatch pattern, very lightly moving the clay across the surface of the paint. You should not need more pressure than what's required to hold the clay to the panel. Let the clay do the work. The more pressure you use the more likely you are to swirl your paint.
You should have audible feedback as to how the clay is going. When you start working the area you should be able to hear it picking up the surface contaminants as you go. As you work the area, the noise should get quieter and quieter, indicating the contaminants are being removed and the surface is becoming more and more smooth
If you get the slightest bit of drag from the clay as you're moving it over the panel, give the area another spray or two of lubricant. Keep the surface wet while you're working on it, otherwise you could cause swirls in your paint.
Once you feel the area have been cleared of contaminants, dry the surface with a good quality microfibre towel. Run your hand over the area and it should feel perfectly smooth. If not, repeat the process.
Use your hearing and sense of touch while you're claying. Both will give you valuable feedback as you go.
During claying, you'll get to the stage where the clay surface gets discoloured from picking up the contaminants and oxidisation, taking on a brownish tinge
It's then the clay should be rolled into a ball and re-kneaded to get a clean working surface again.
Continue until you've done the whole car. Glass can also be clayed if necessary
Unless you're planning to do some paint correction to the entire car, once you've finished claying, I recommend giving the car another quick wash and dry before putting on any waxes/glazes. It will ensure that the clay lubricant is off the surface of the paint (clay lubricant isn't harmful to paint if left on, but it can dry a bit splotchy).
You should now have a nice smooth paint surface with which to apply any wax or glaze you so desire.
NOTE: If you drop the clay on the ground at any stage, throw it away! Do NOT attempt to re-use it, even if it looks fine. It will have picked up anything it comes into contact with and that then will get transmitted straight onto the car, causing swirls and sometimes even scratches. Claybars are relatively cheap. Don't try to scrimp, it's a false economy. Just use a fresh piece of clay


 Reply With Quote


